No Knead Oat Bread (Dutch Oven)

No Knead Oat Bread (Dutch Oven)

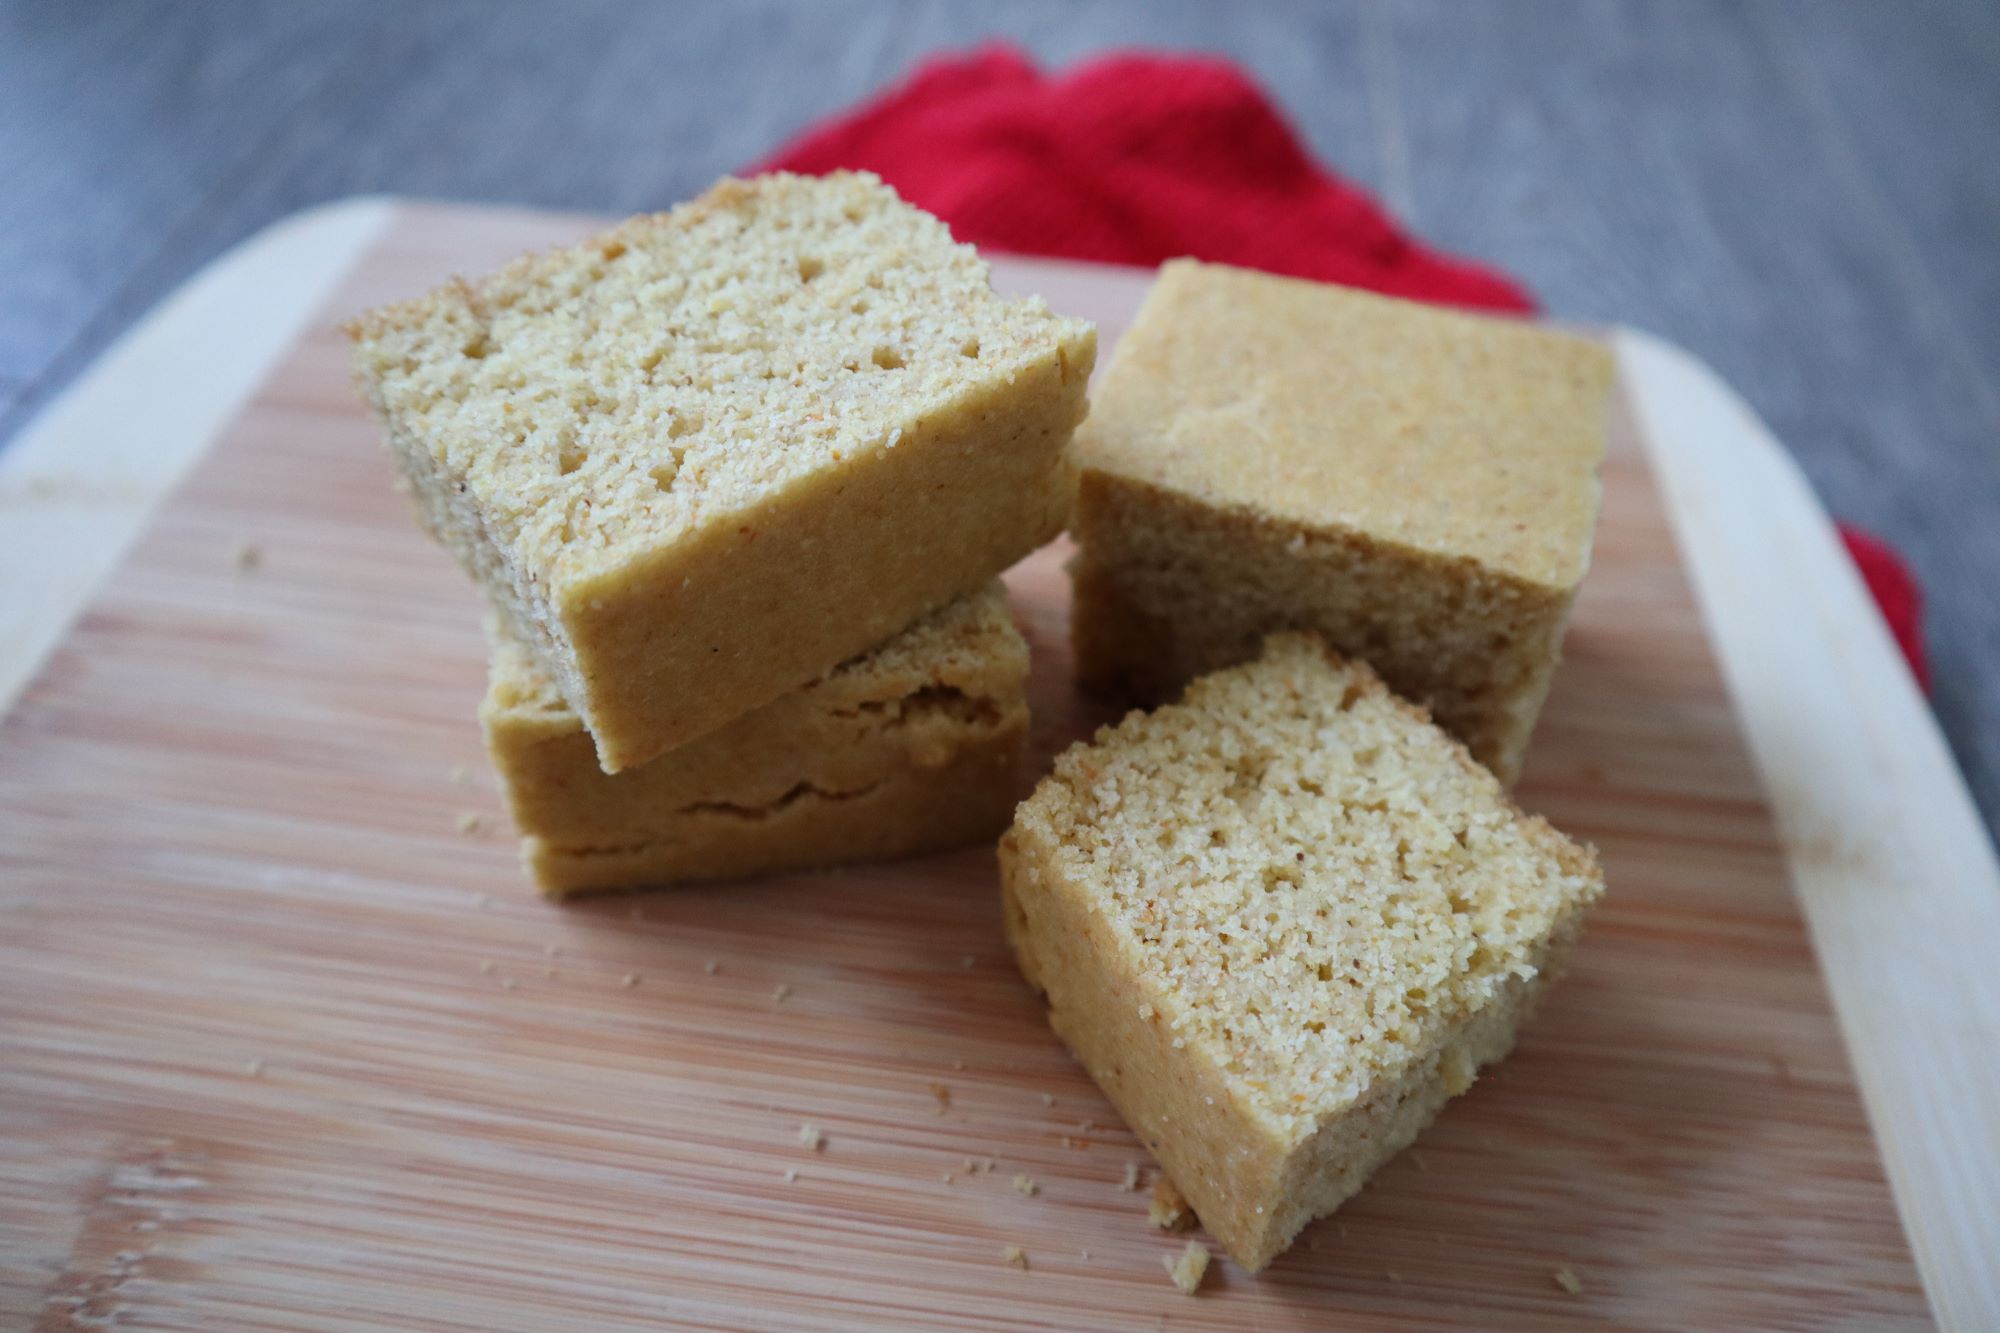
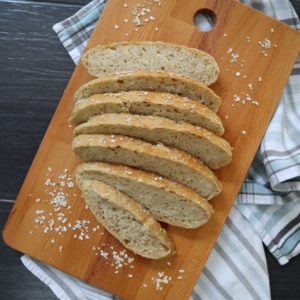
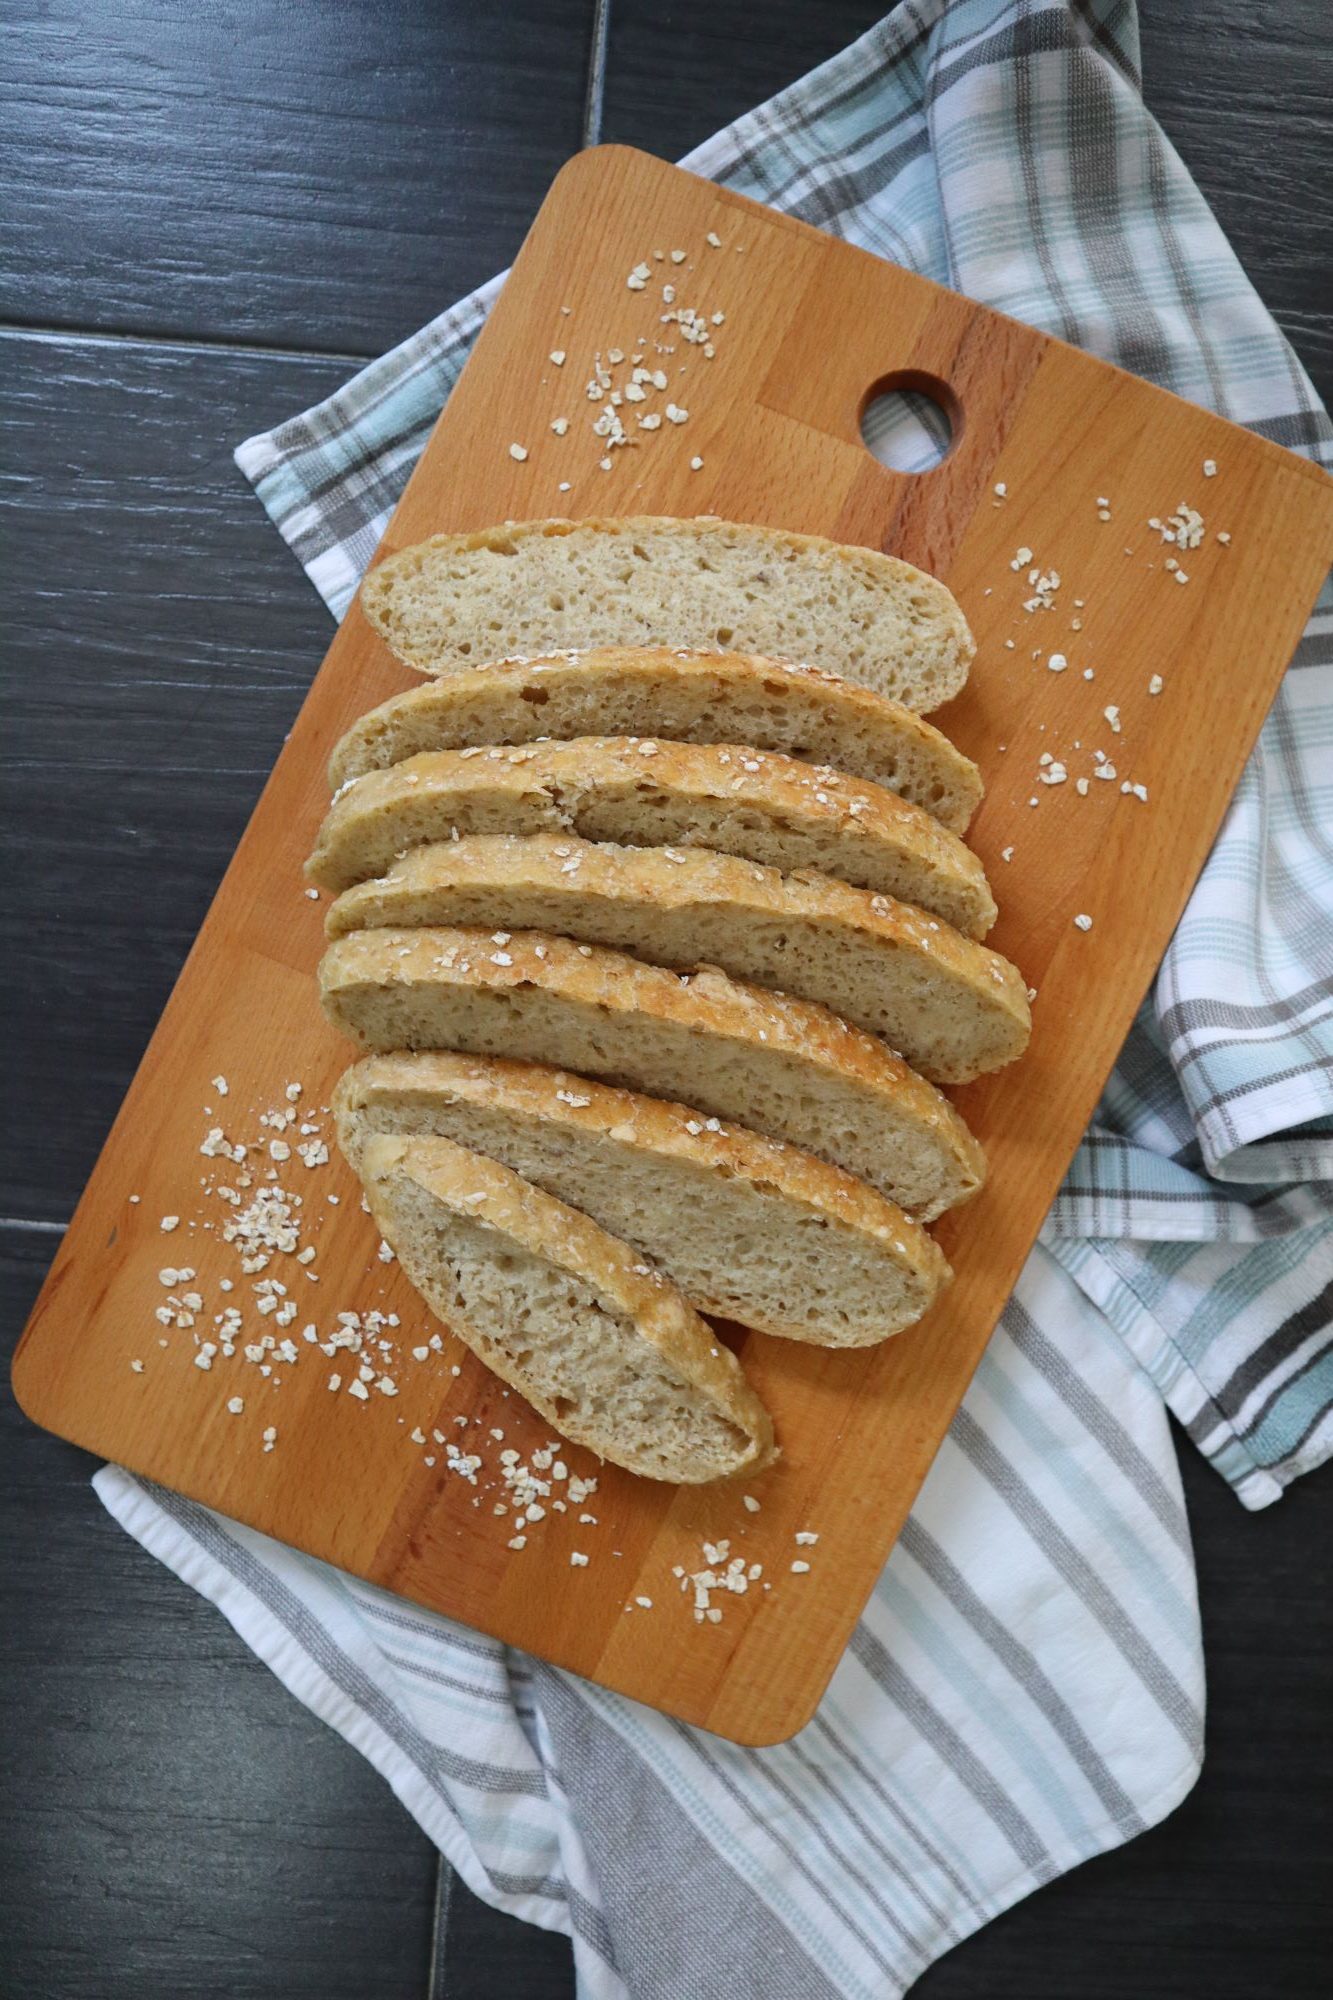
This bread is packed with oatmeal and whole wheat flour. This is truly an easy bread to make, no hand-shaping, no kneading, no mixer. All it really takes is some wait time.

There are two rises required to make this loaf of bread, so plan accordingly. I usually make my dough in the afternoon and then bake my loaf next morning.

No knead oat bread
Get the ingredients ready

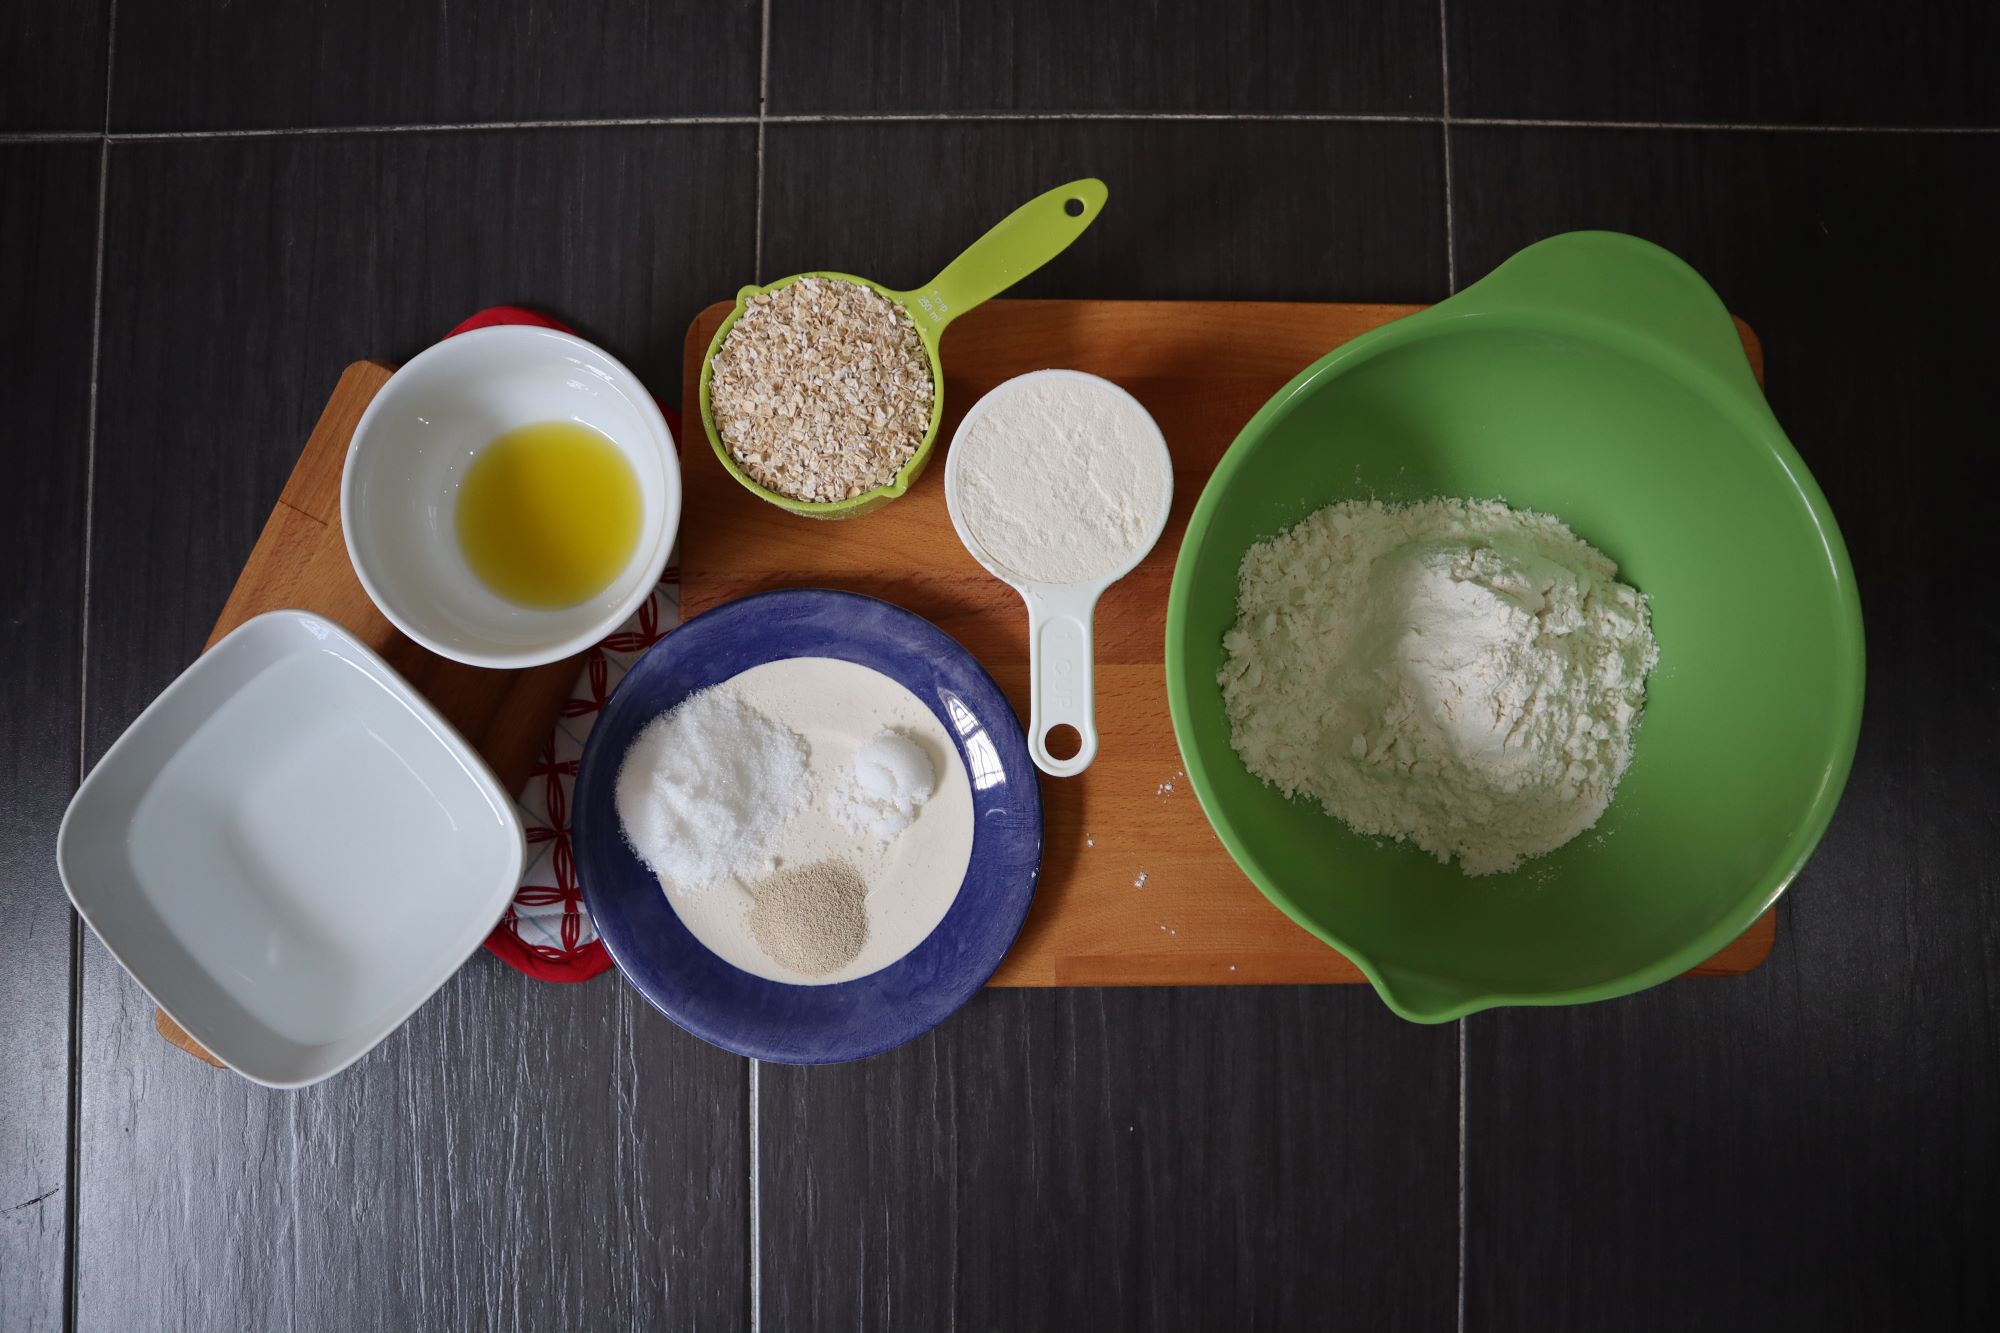
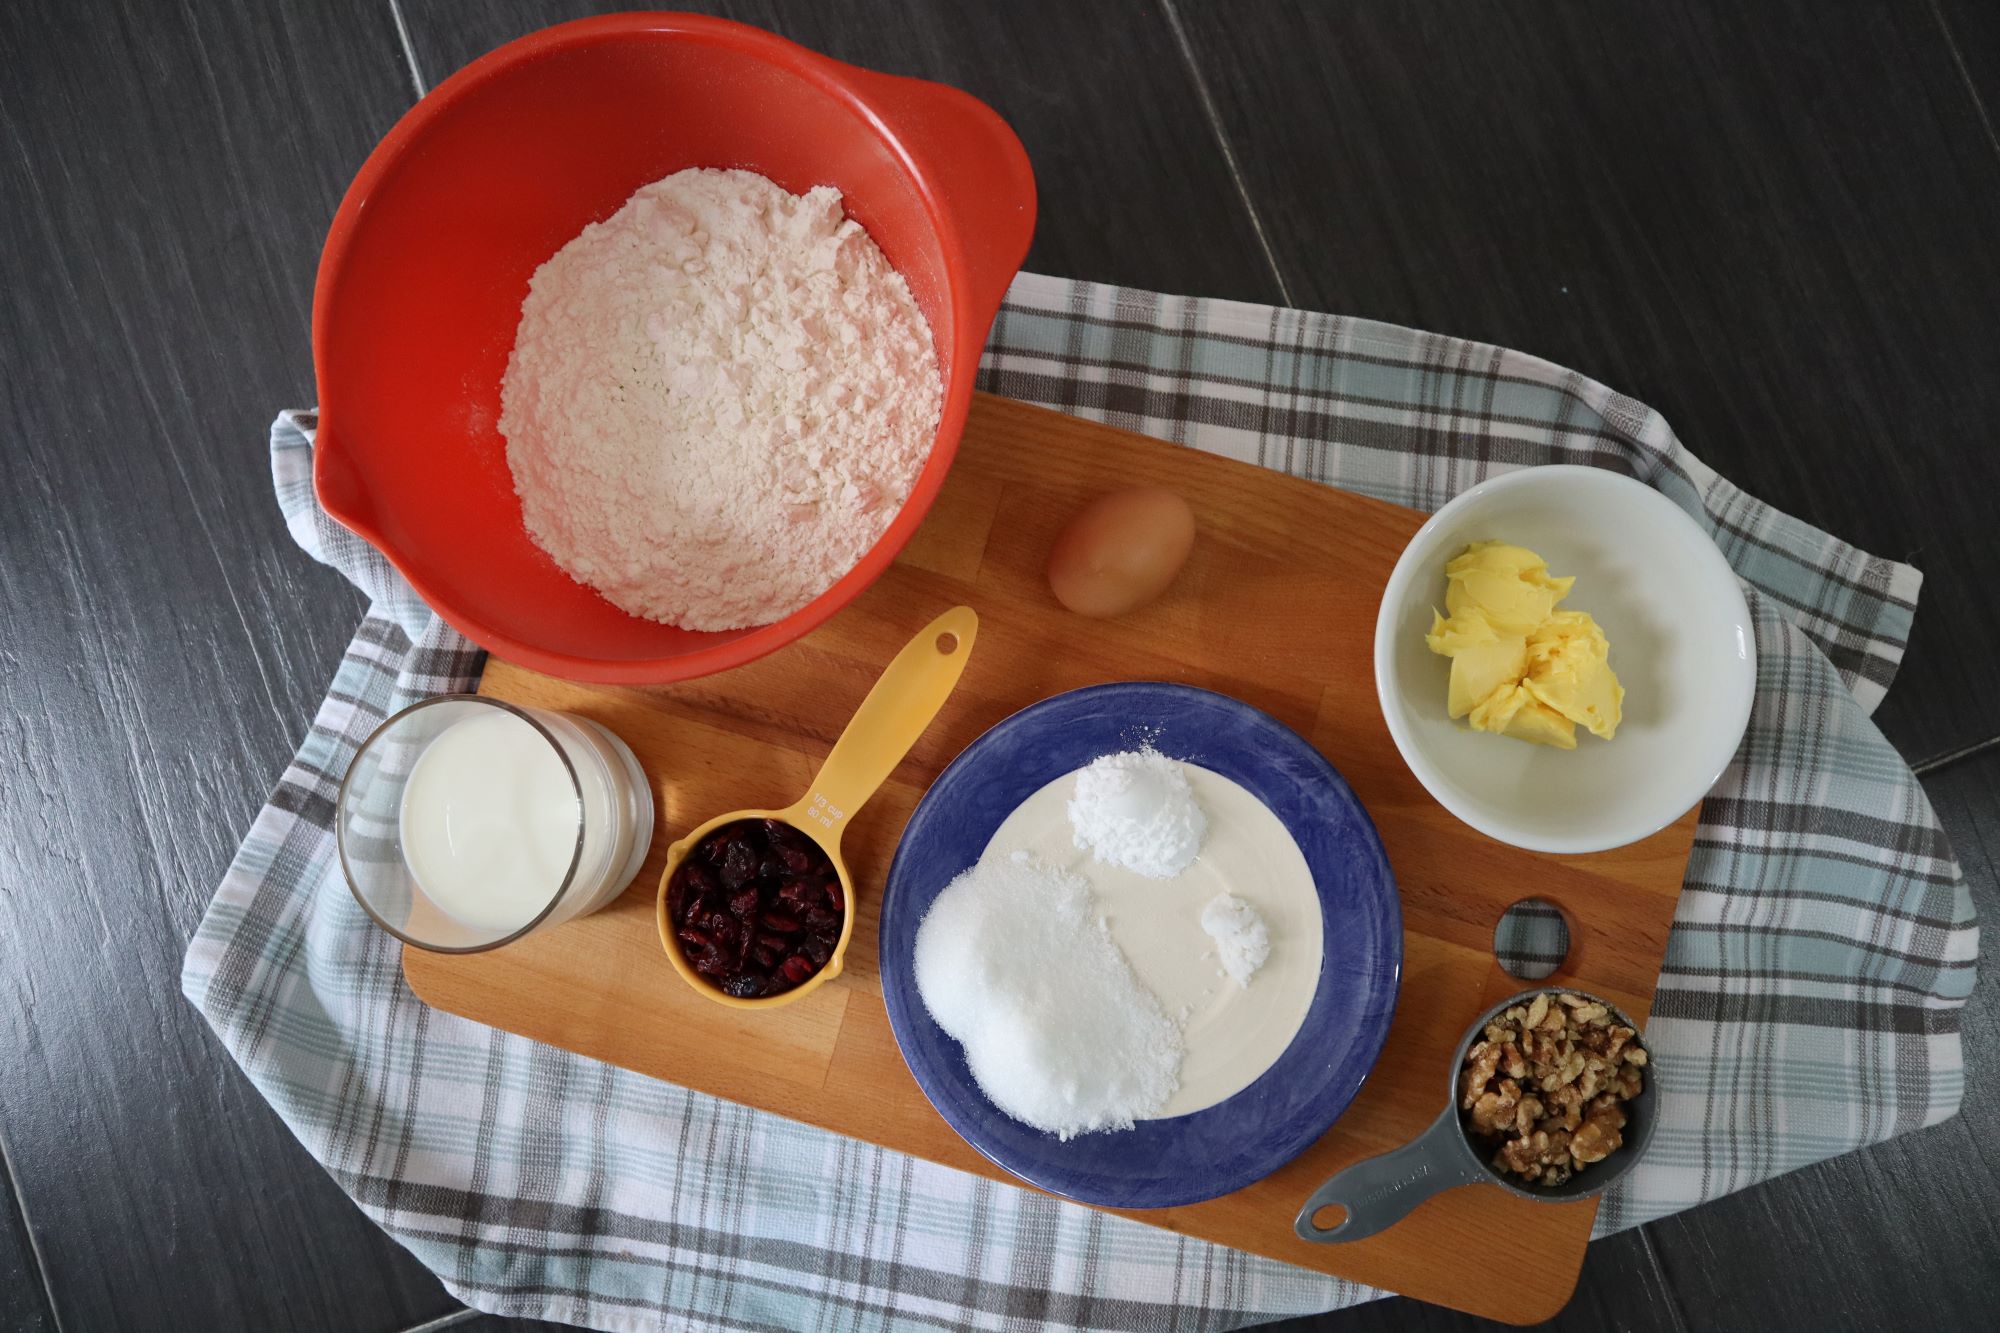
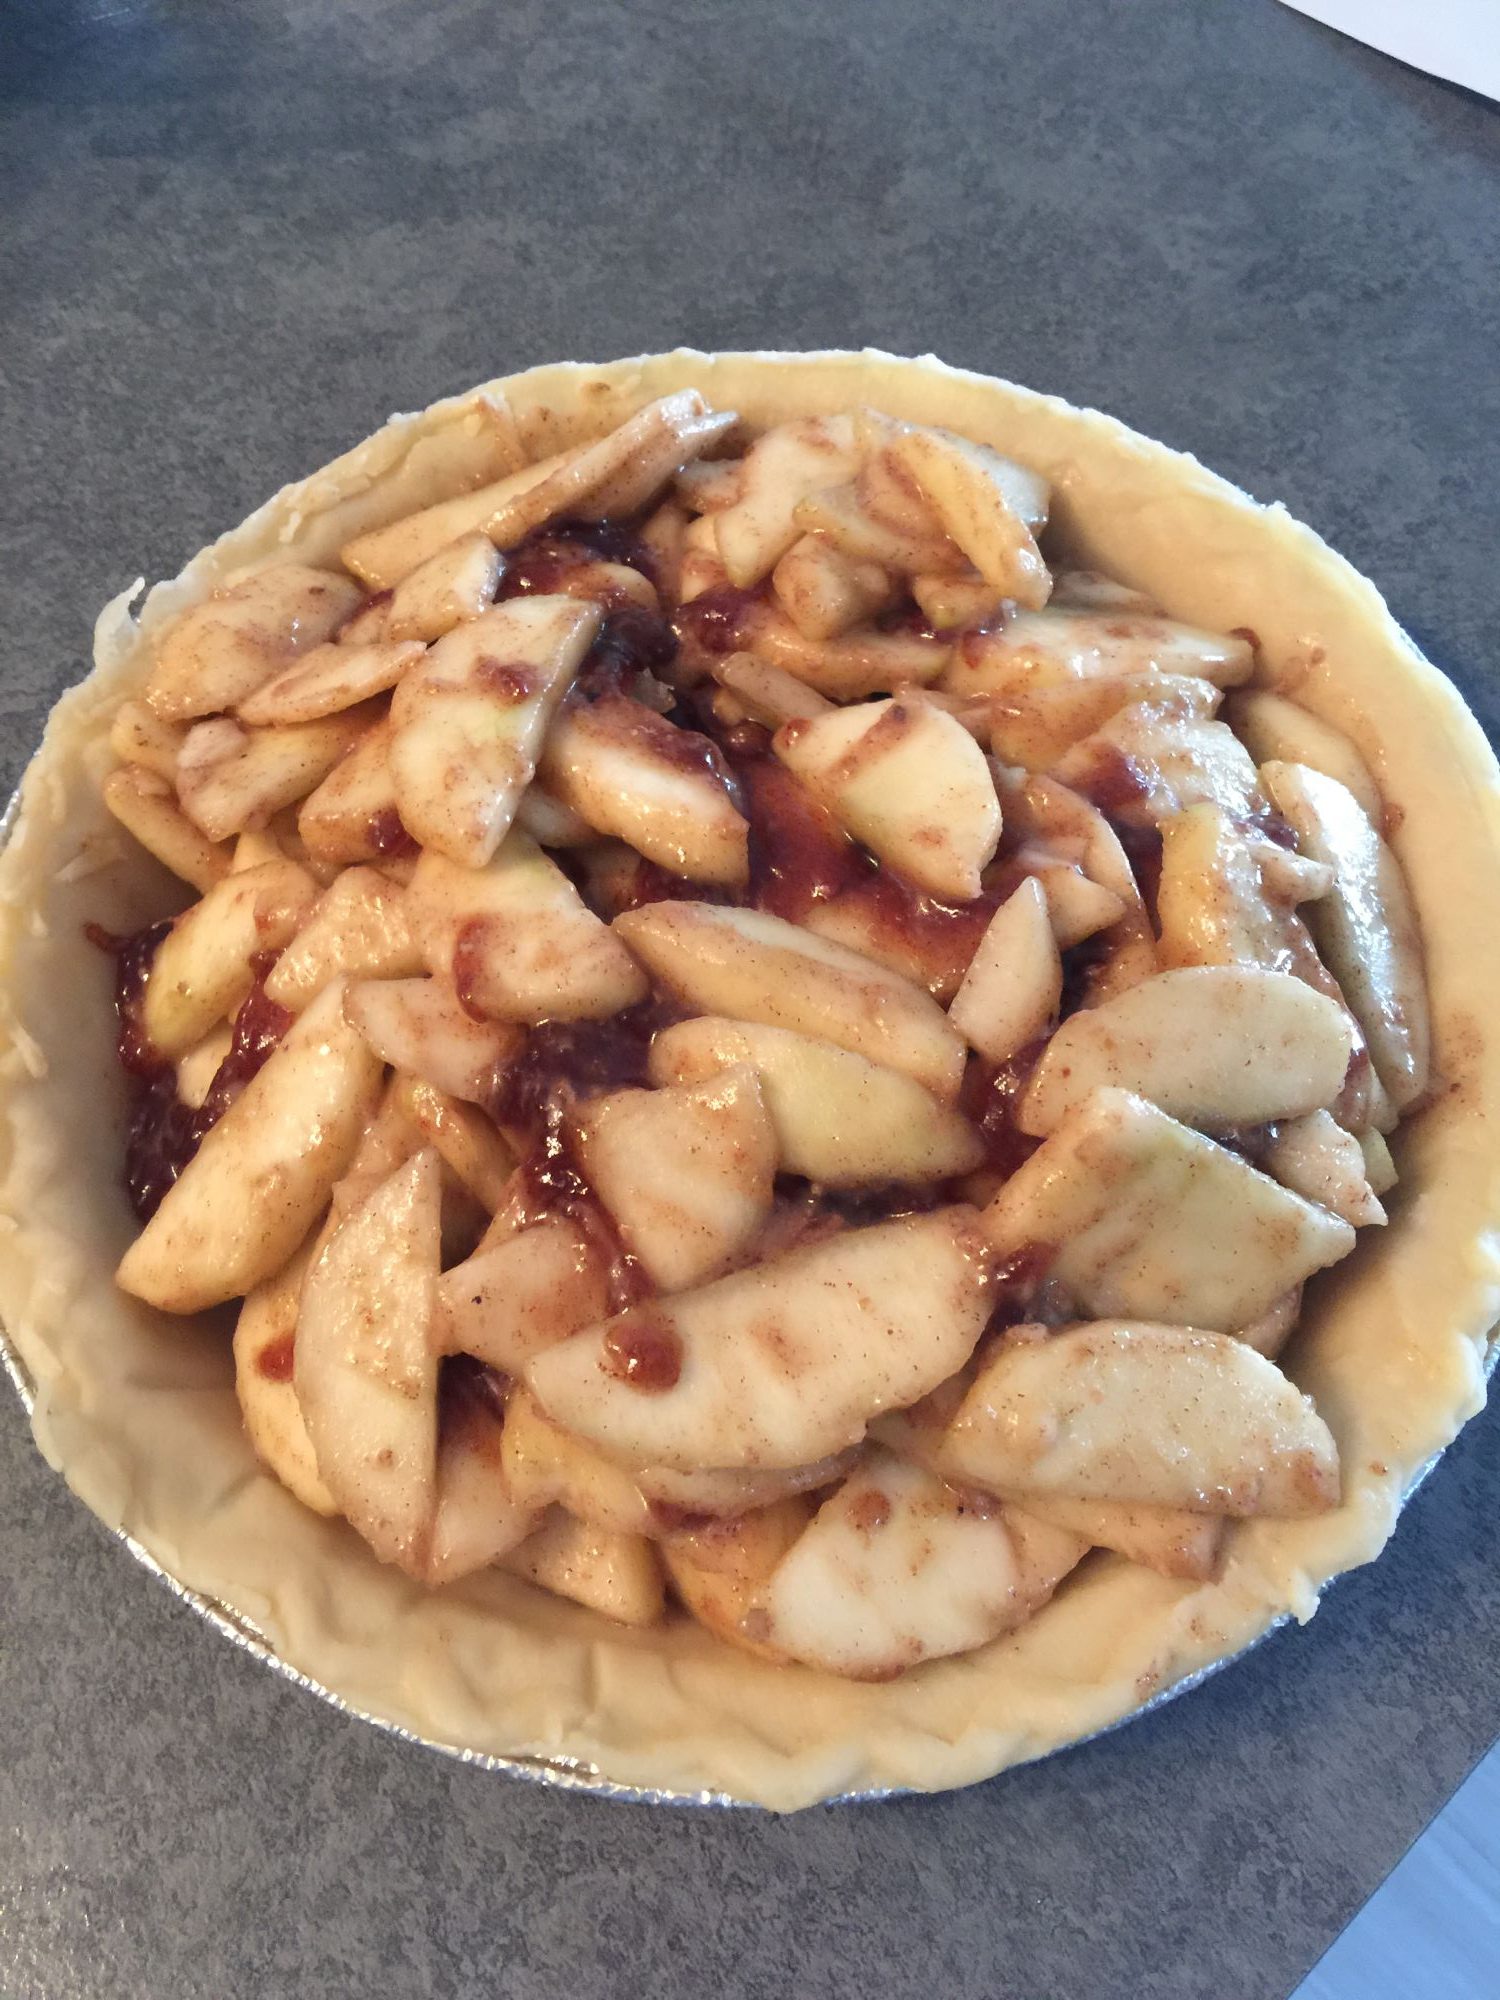
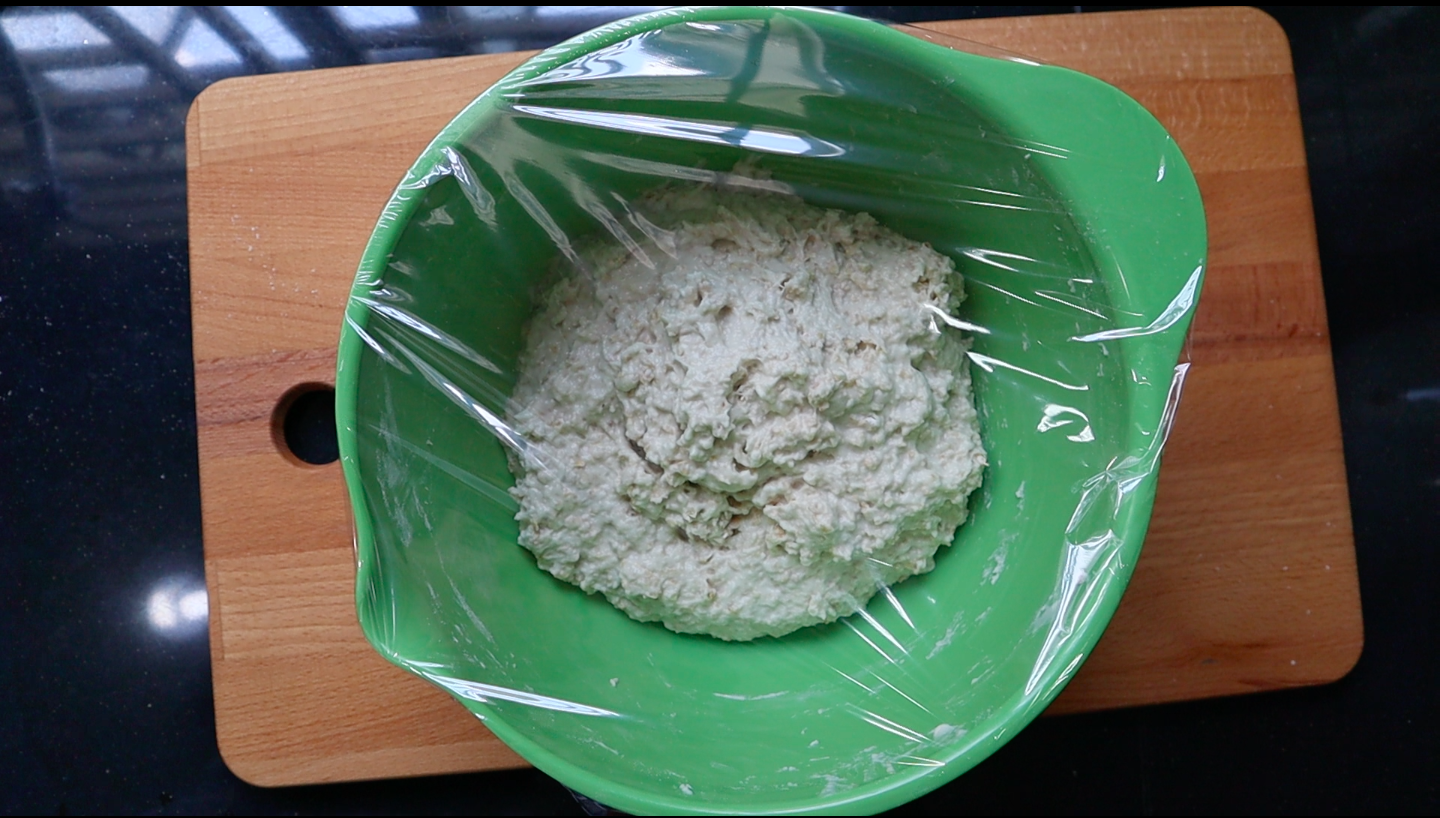
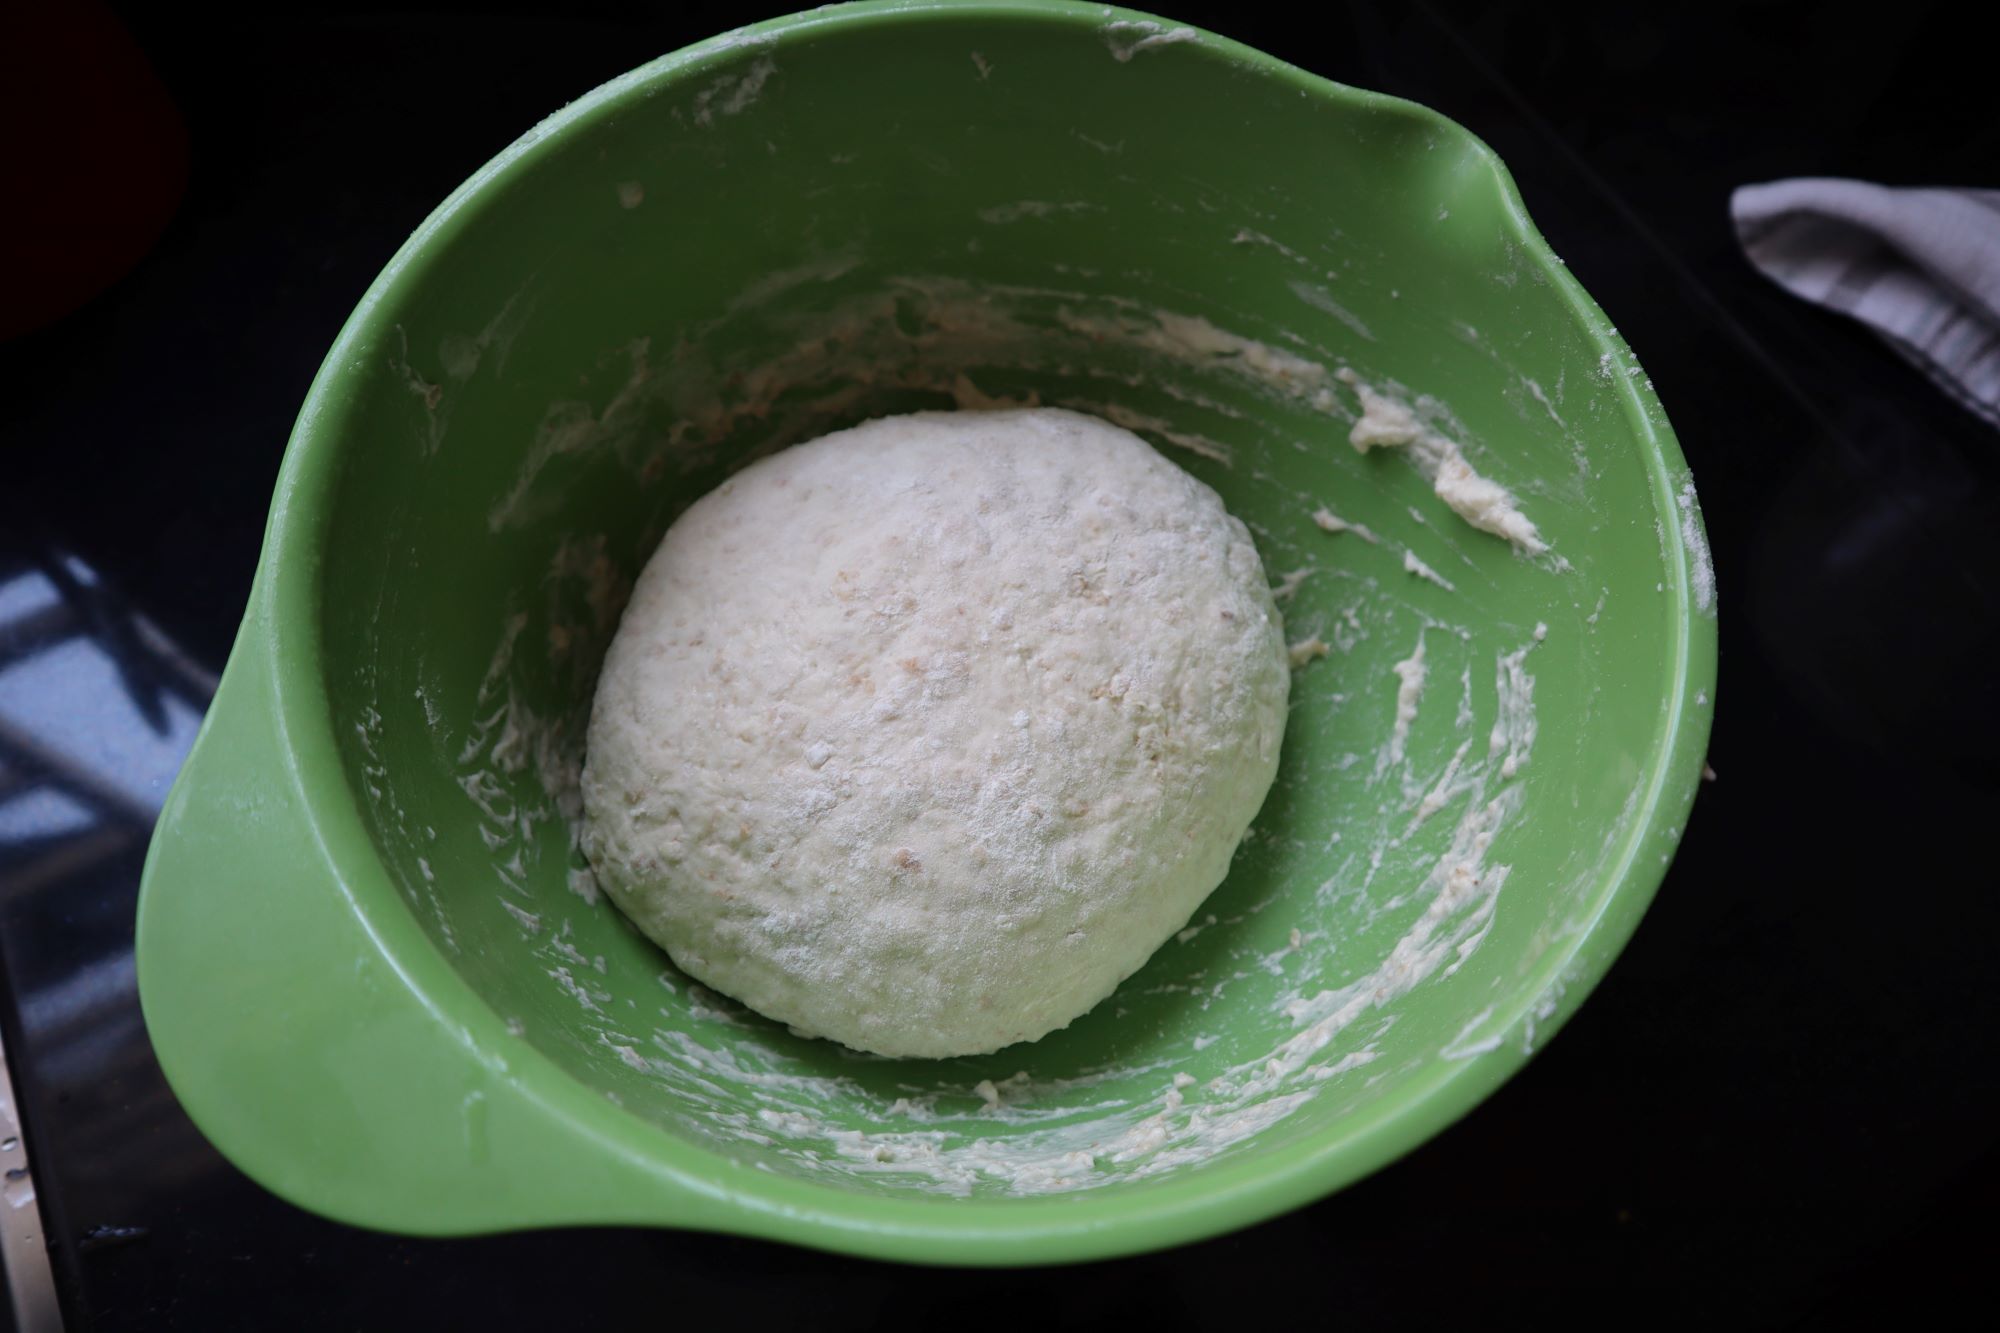
First, you will combine your dry ingredients together: whole wheat flour, white flour, oats, salt, sugar and yeast. The wet ingredients for this homemade hearty bread are oil and warm water. Mix the dry and wet ingredients together with a wooden spoon. While the oats will soak up a lot of the moisture, the dough will look slightly wet and you’ll be tempted to keep adding flour. Don’t do that!! Slightly “wet” looking dough is just fine. Cover the dough and allow it to rise for 2 hours during the day.

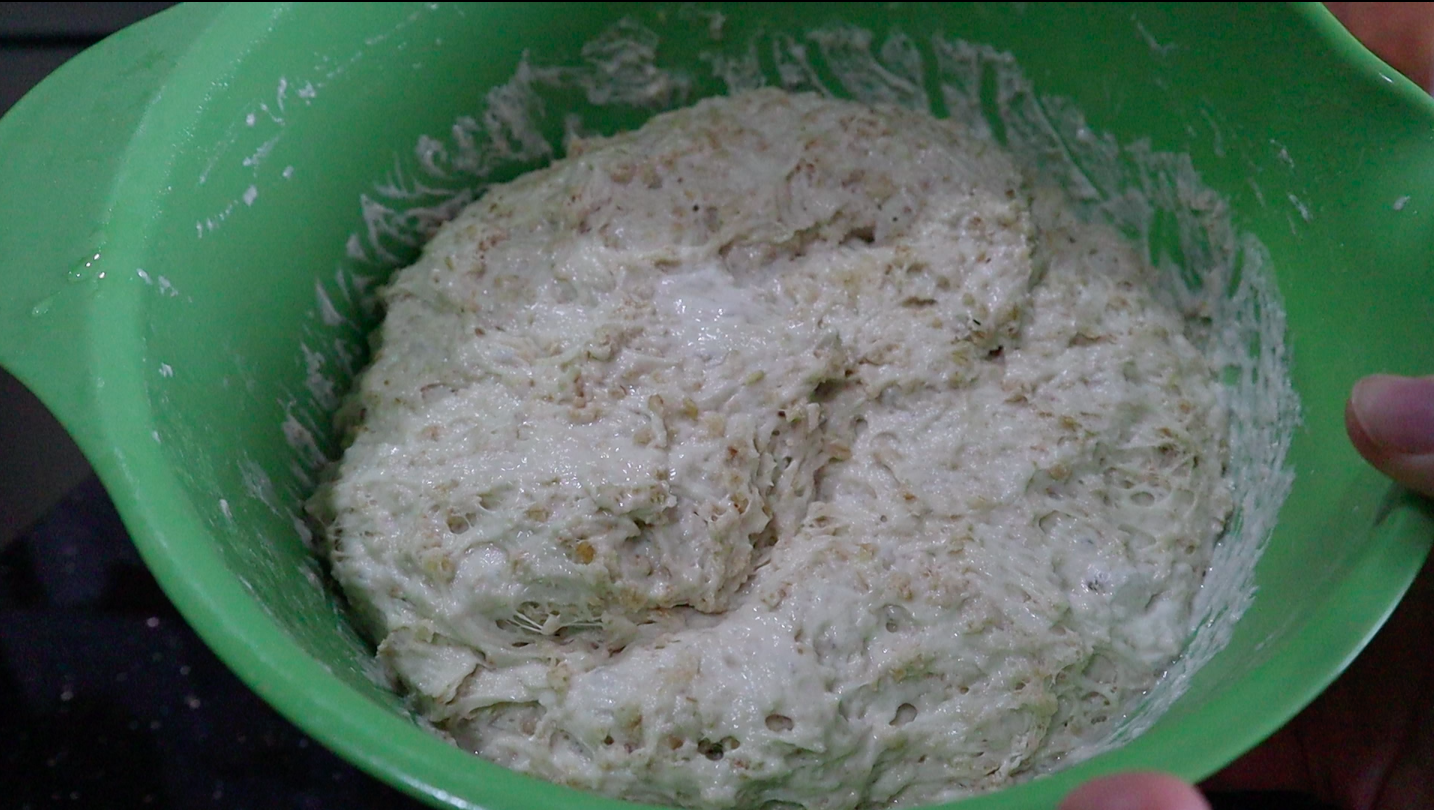
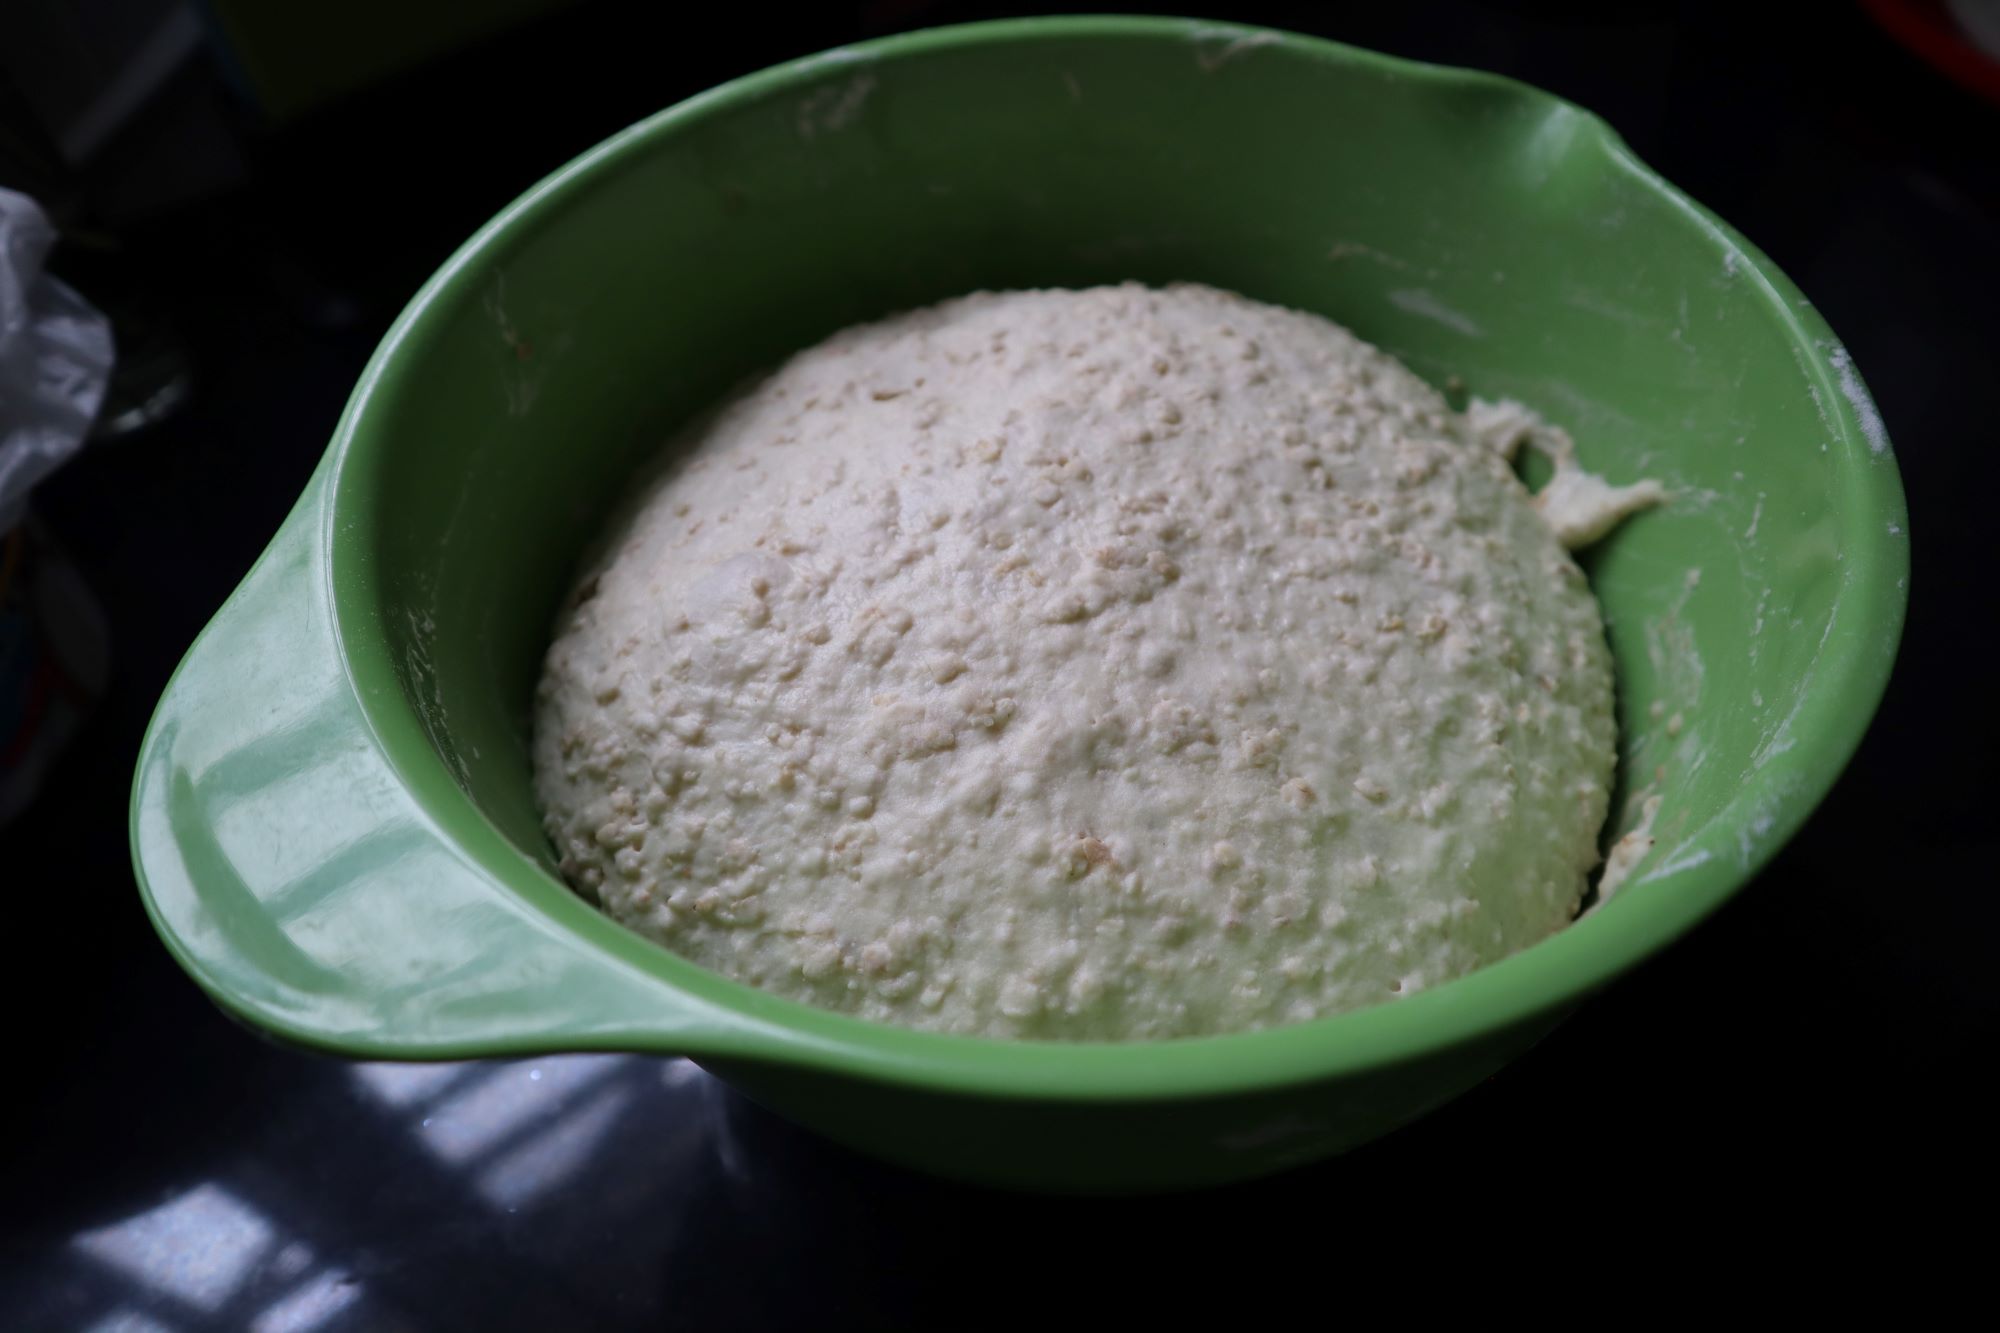
After 2 hours, the dough will have grown quite a lot.

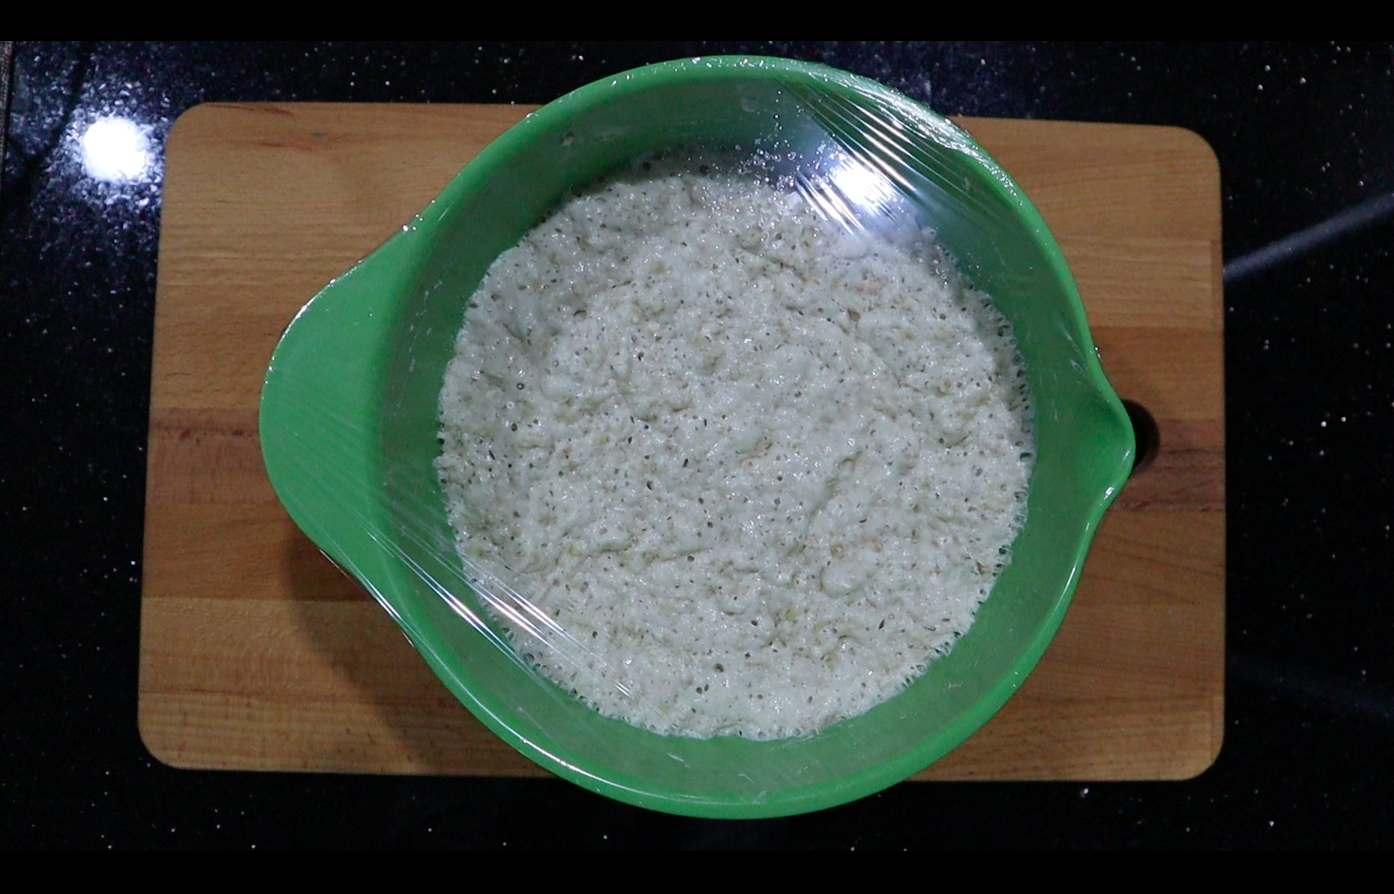
Stir the dough to roughly form a ball, cover, and refrigerate overnight.

After a night in the fridge, the dough will still be wet.

Remove from the fridge

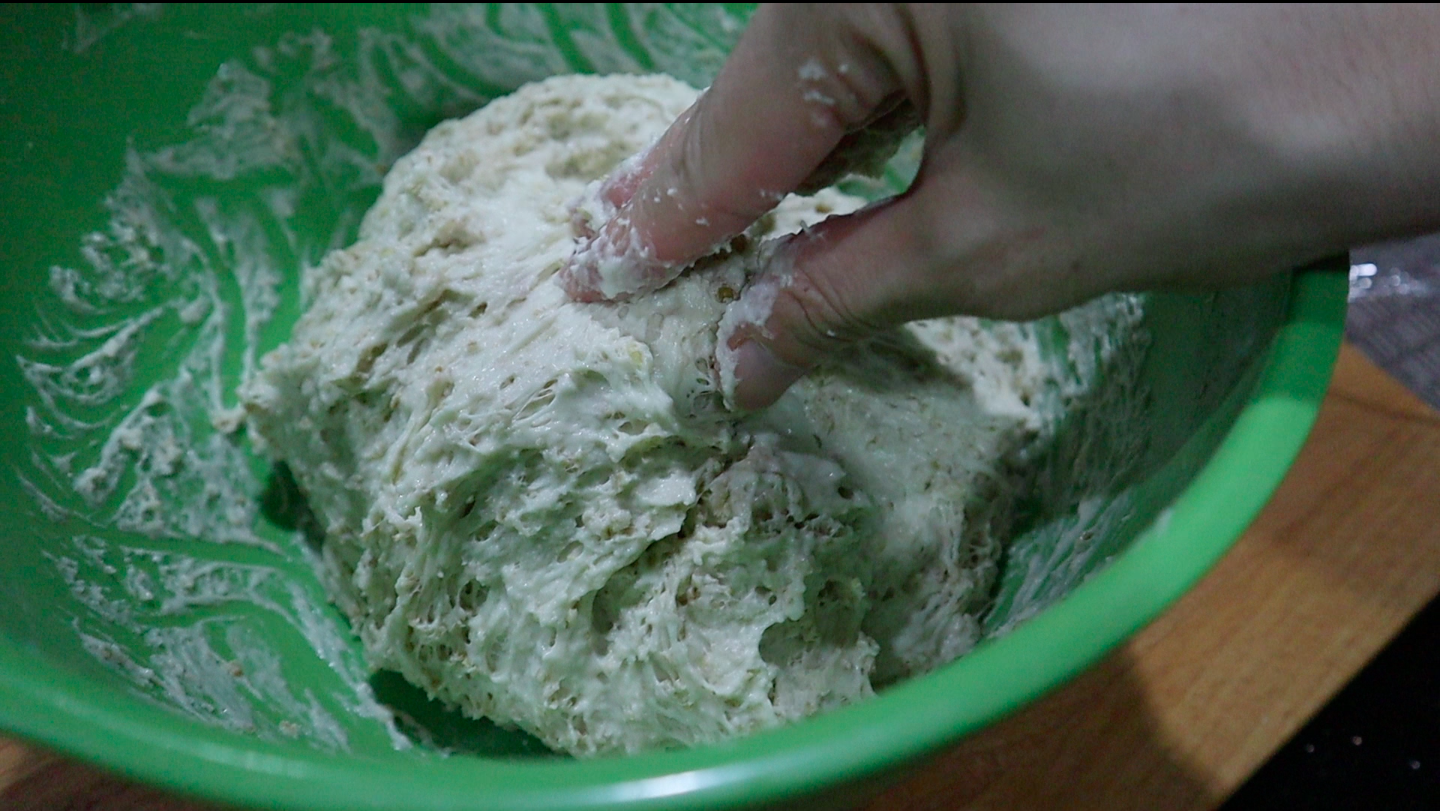
Now, the dough is ready for its second rise. If the dough is sticky and you can barely form it into a ball before baking, you can dump it onto a floured surface, pour more flour on top, and let the flour help you form it into a ball. Start folding the dough over itself so it is nicely coated with flour. Keep doing this until the dough holds its shape.

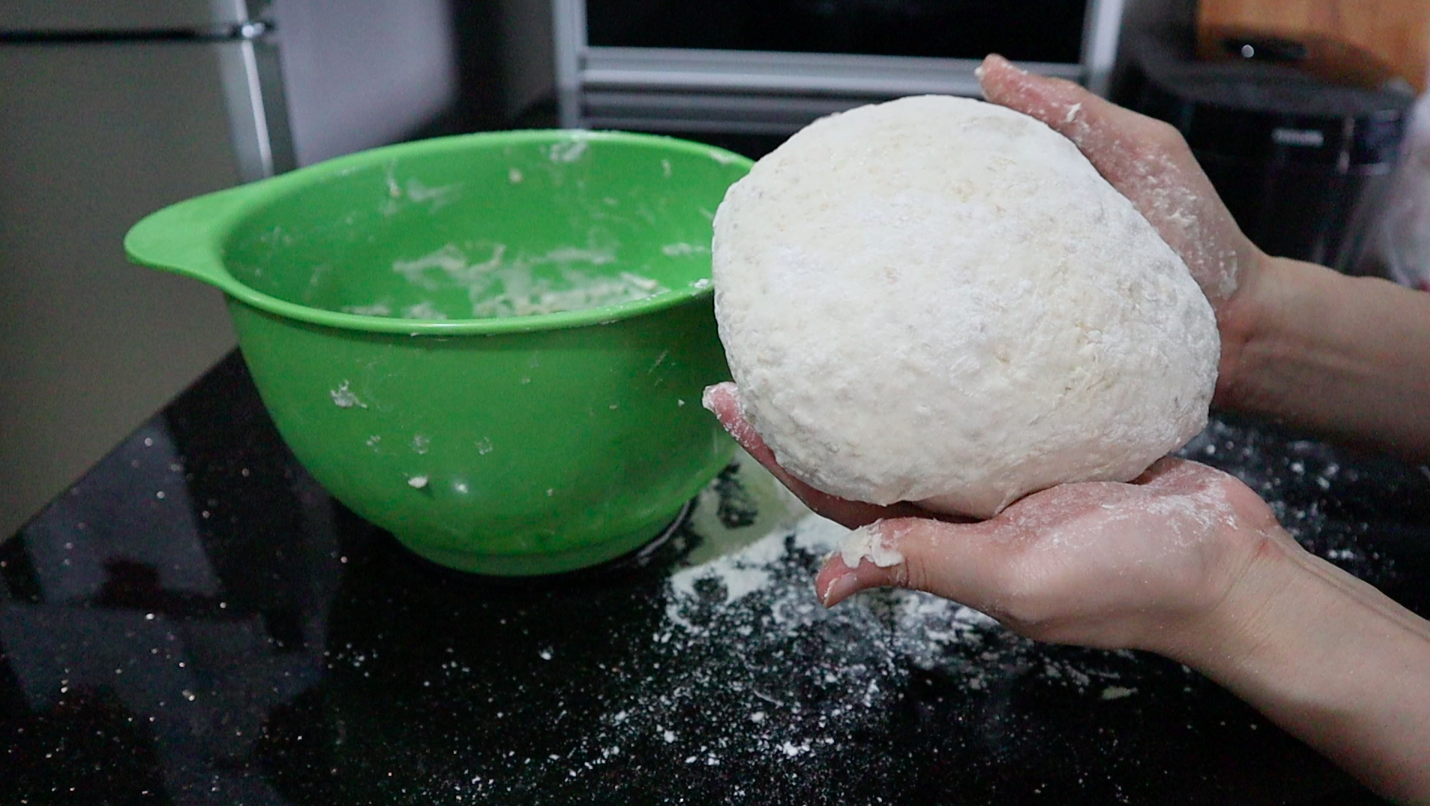
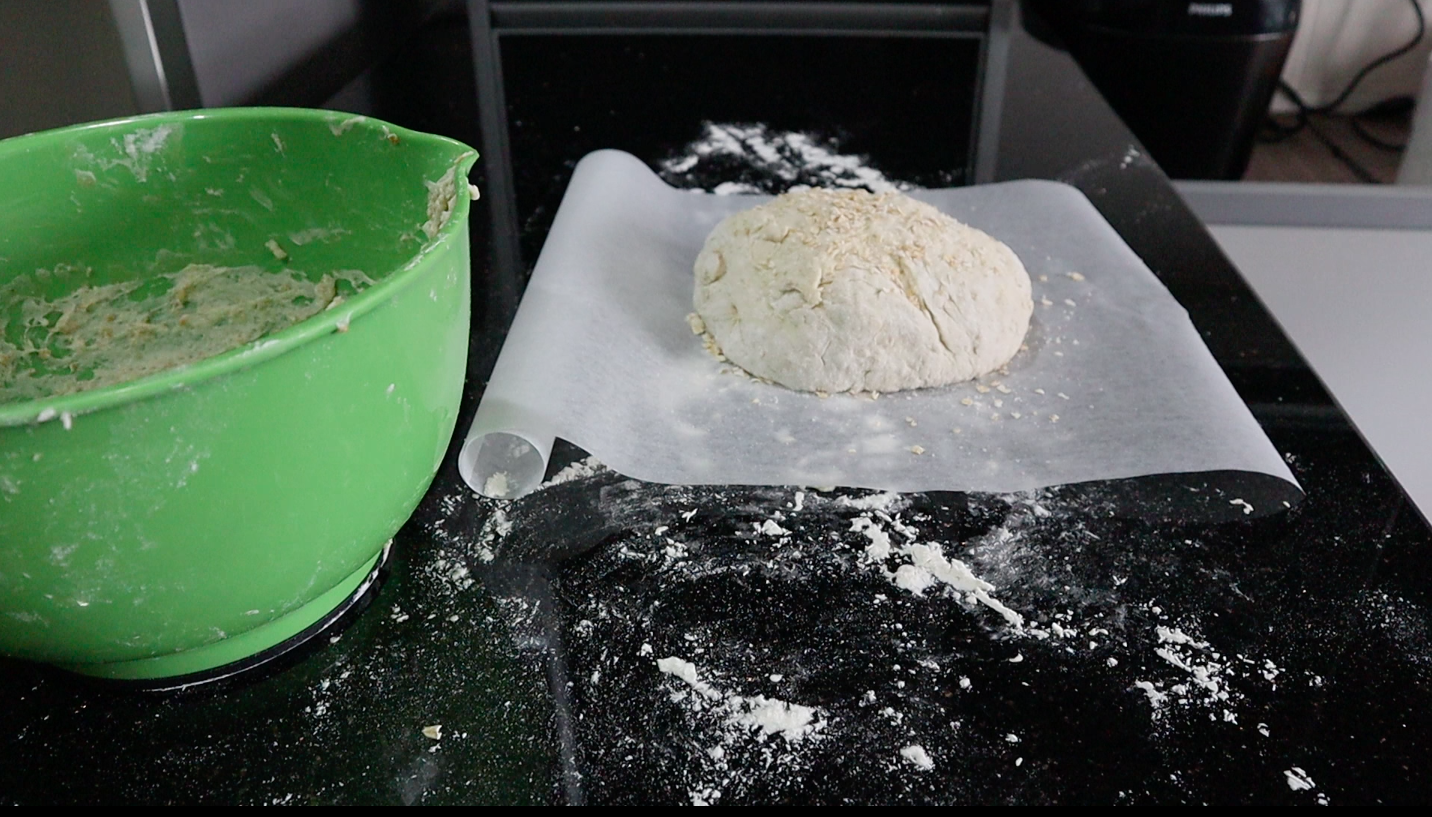
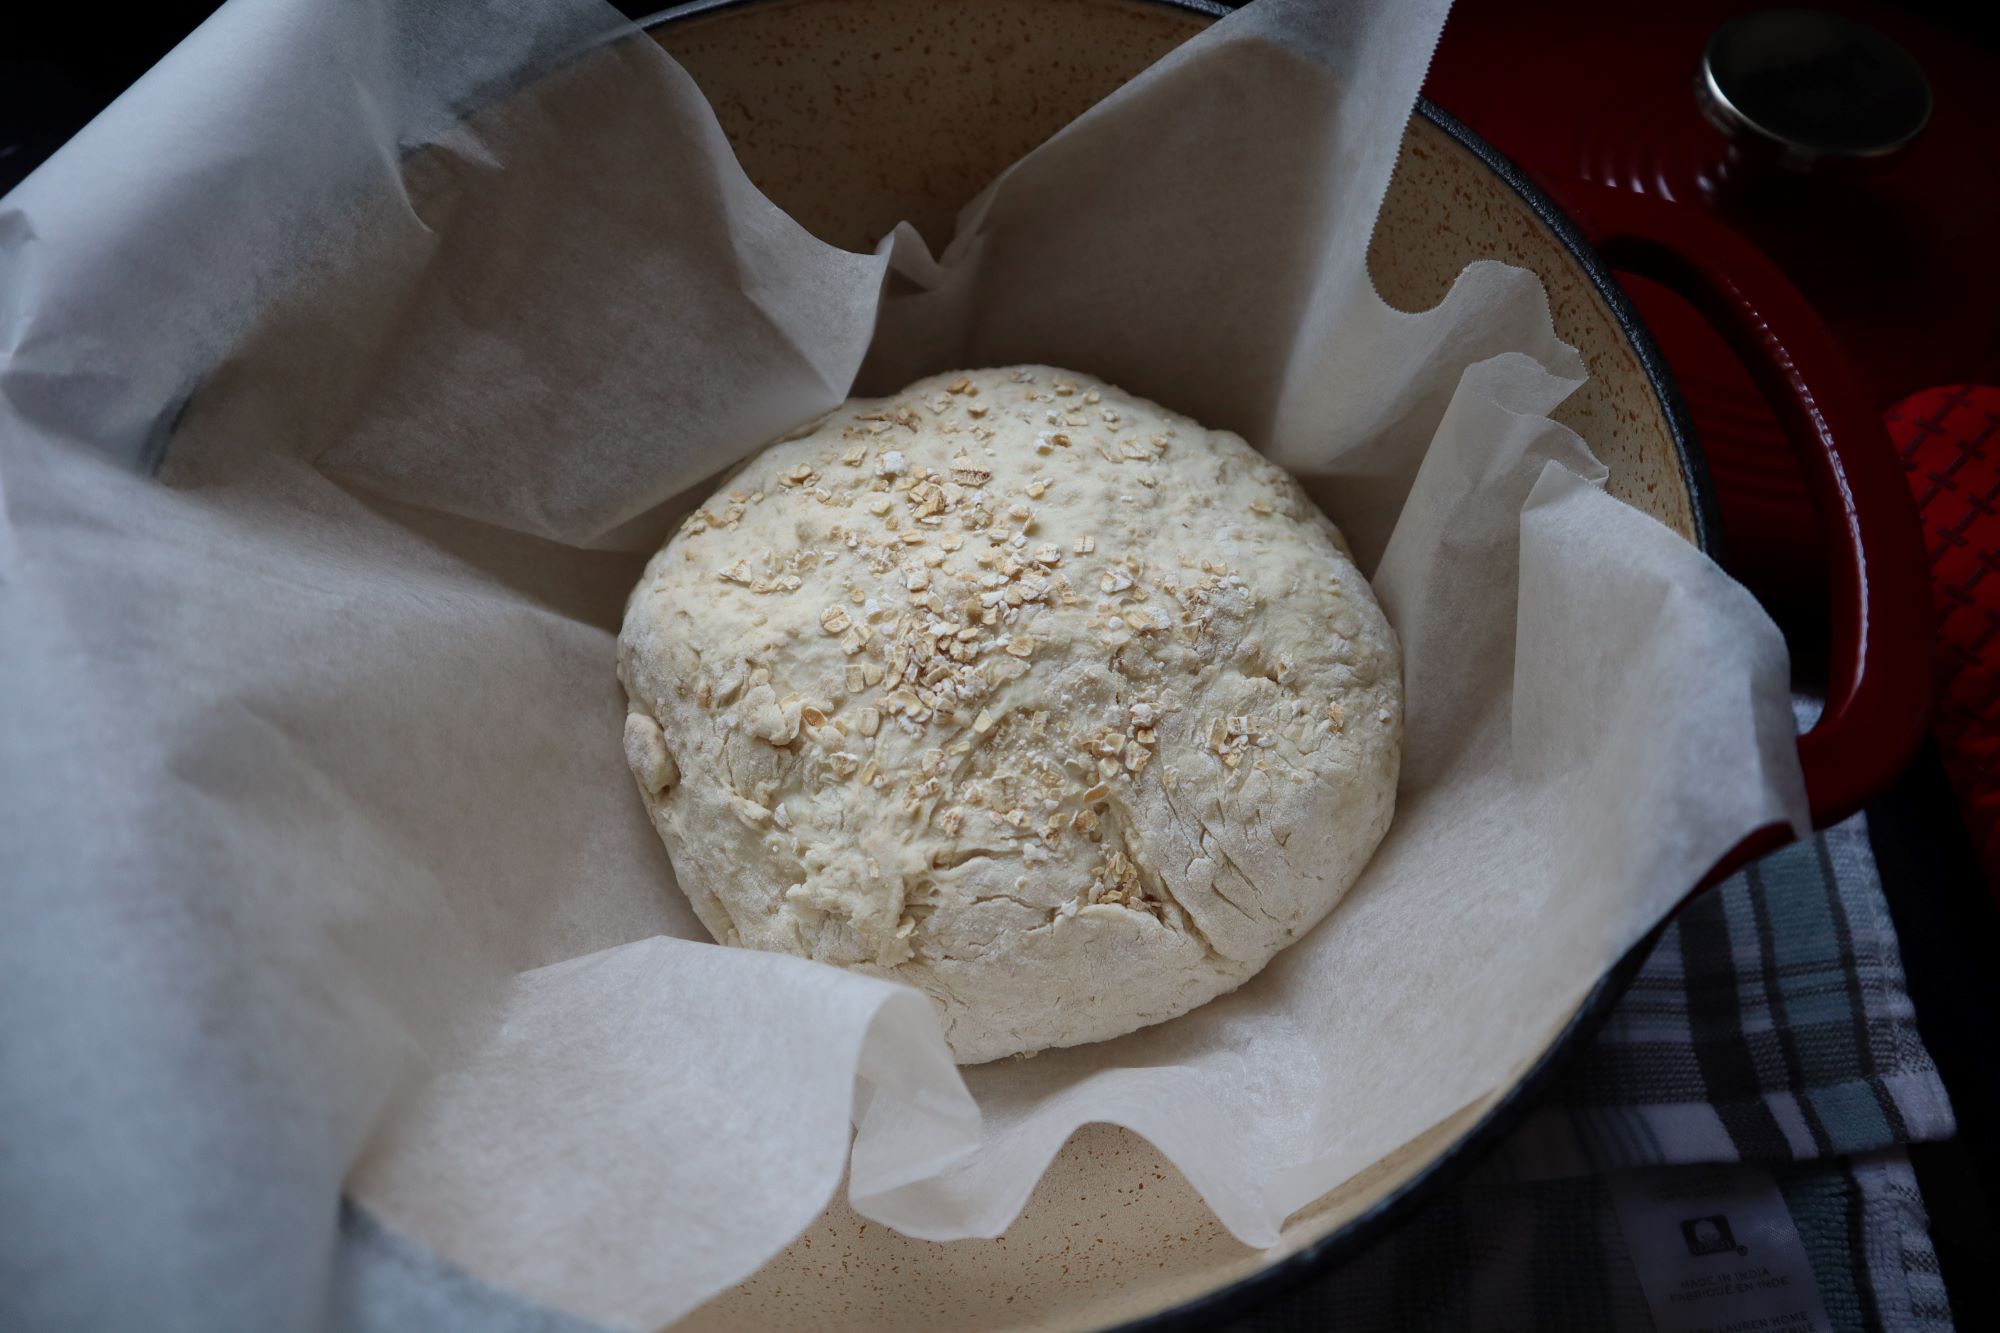
Sprinkle a small handful of oats in the center, then carefully place the ball of dough on top of the oats with the seam side down. By seam, I mean the crease that you’ll create as you fold the dough over itself. So the top of the dough should look nice and even.

Place the ball of dough on top of the oats with the seam side down

Add another few pinches of oats on top, and cover with plastic wrap and let rise in a warm place for 1-2 hours (or until about 50% larger than it’s original size).

After 2 hours of rising, 50% larger than it’s original size

Meanwhile, preheat your oven to 400 degrees Fahrenheit. Also, as the oven preheats, stick your dutch-oven in the oven so it gets as hot as possible.

Preheat the dutch-oven in the oven

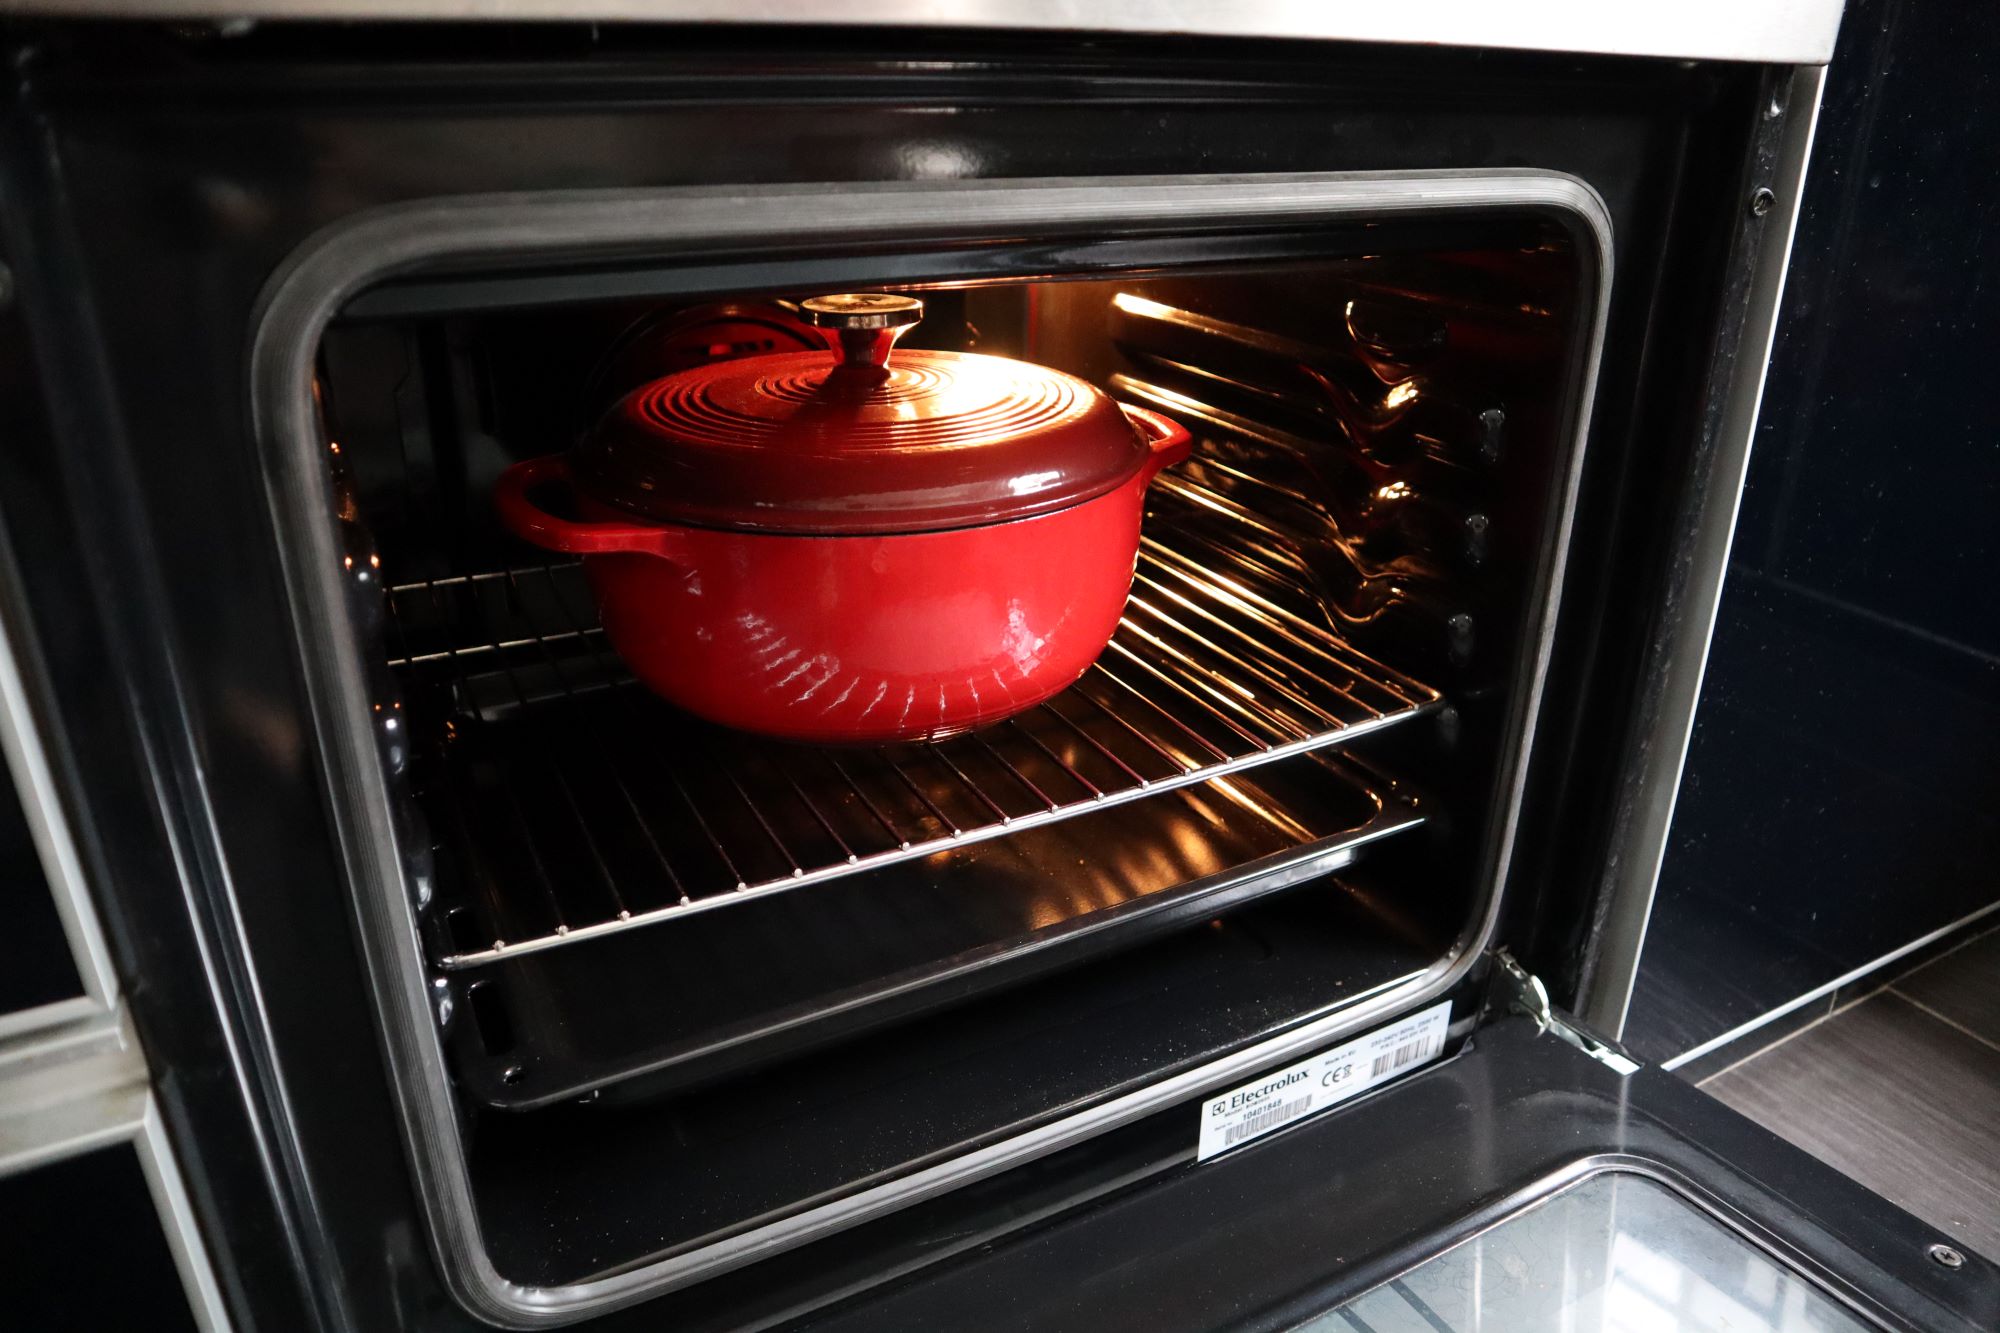
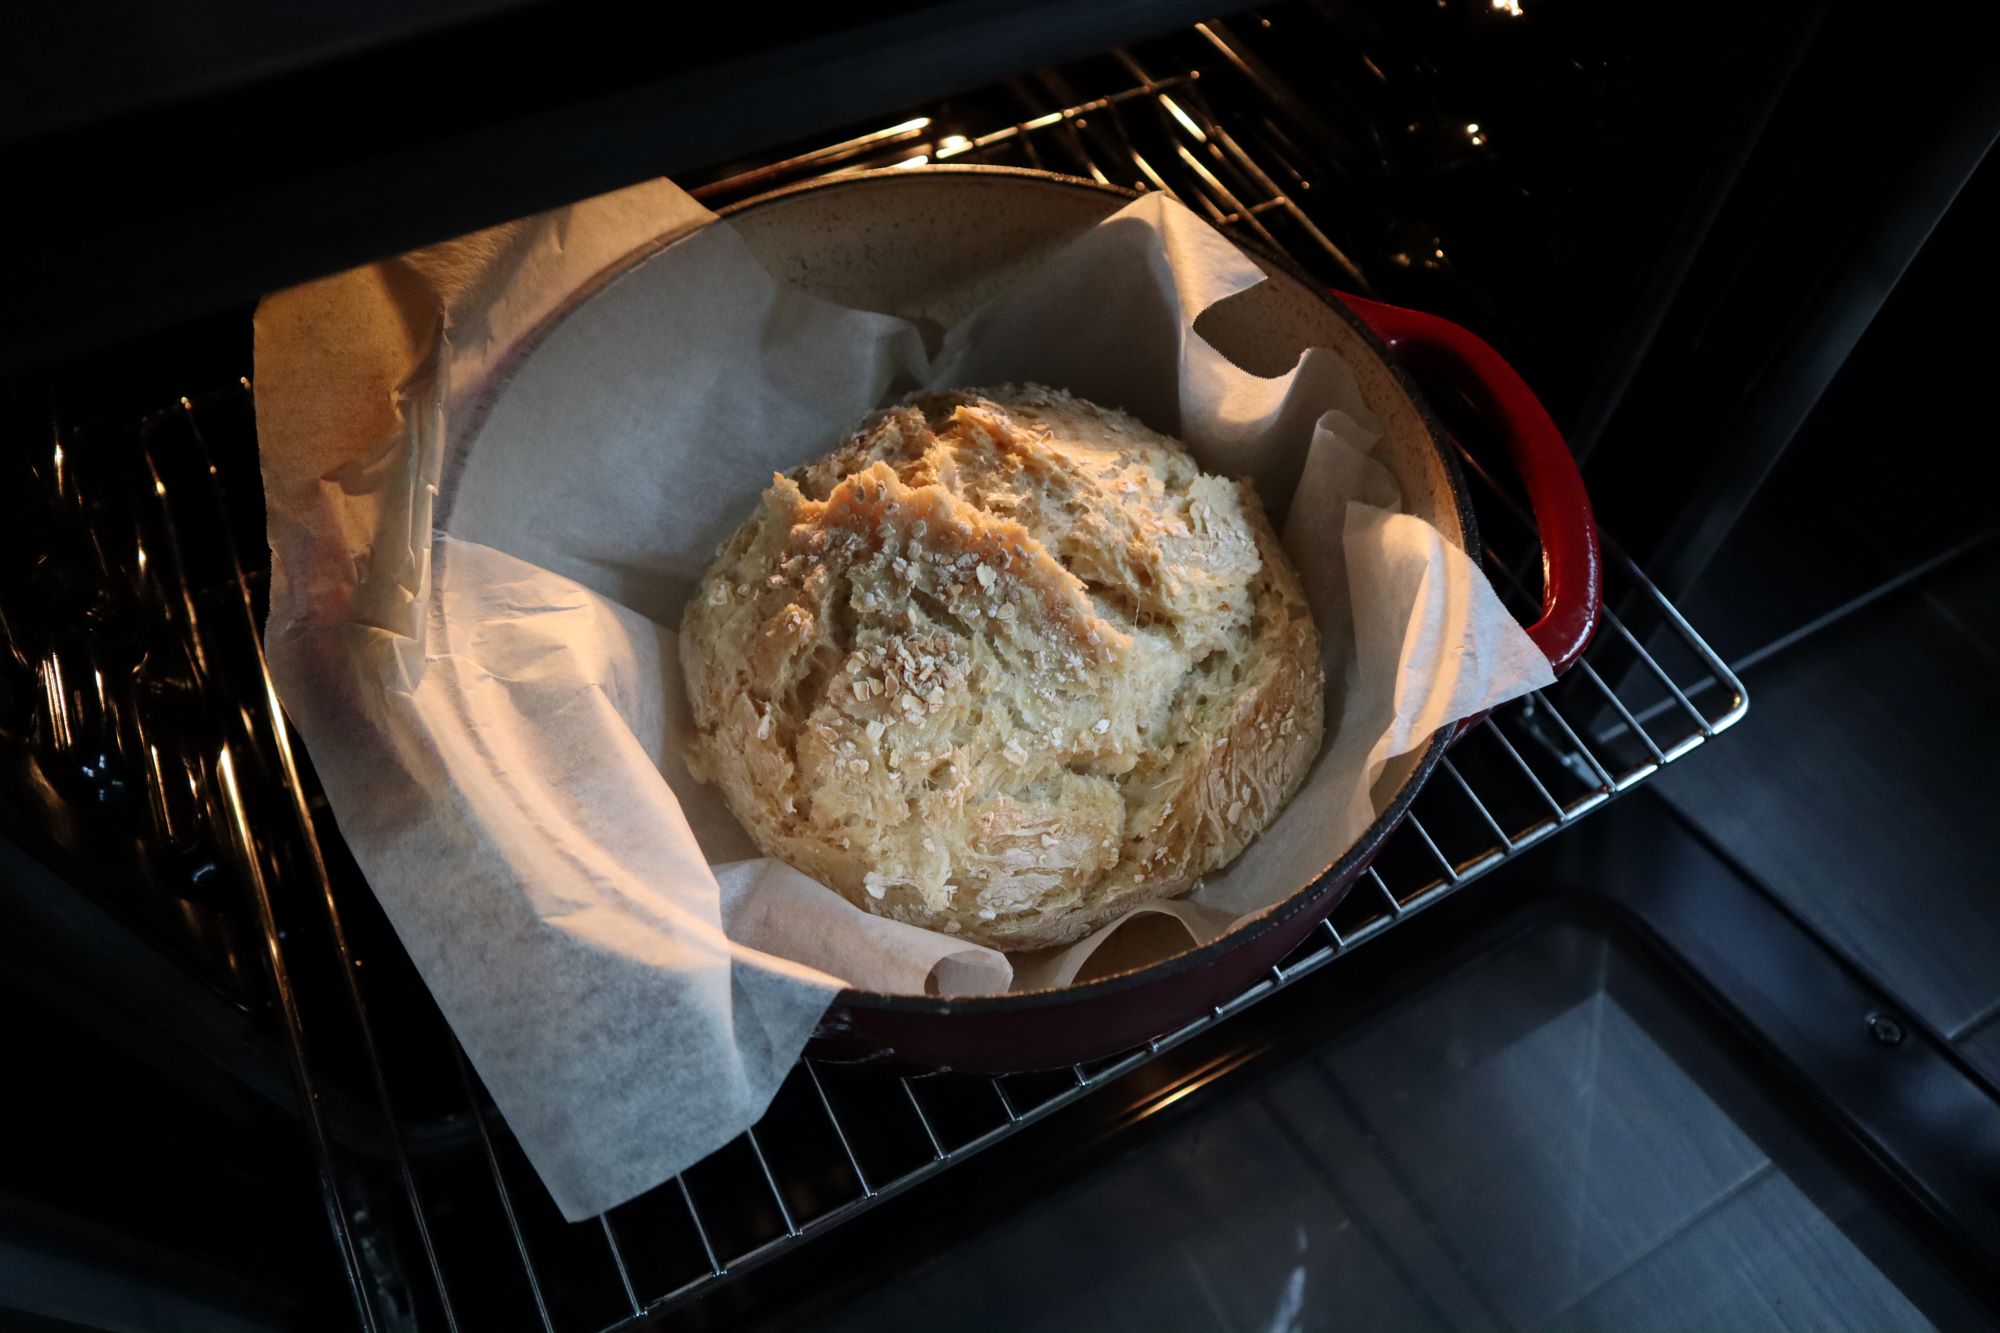
When the oven is ready, remove the dutch-oven and carefully roll your dough ball into the pot, now the seam on the dough is facing up. This allows steam to escape as it bakes. Cover the pot with lid and bake it for 30 minutes.

Remove the dutch-oven and carefully roll your dough ball into the pot, now the seam on the dough is facing up

After 30 minutes, carefully remove the lid and bake for another 15 minutes, which will brown the bread nicely.

Carefully remove the lid and bake for another 15 minutes

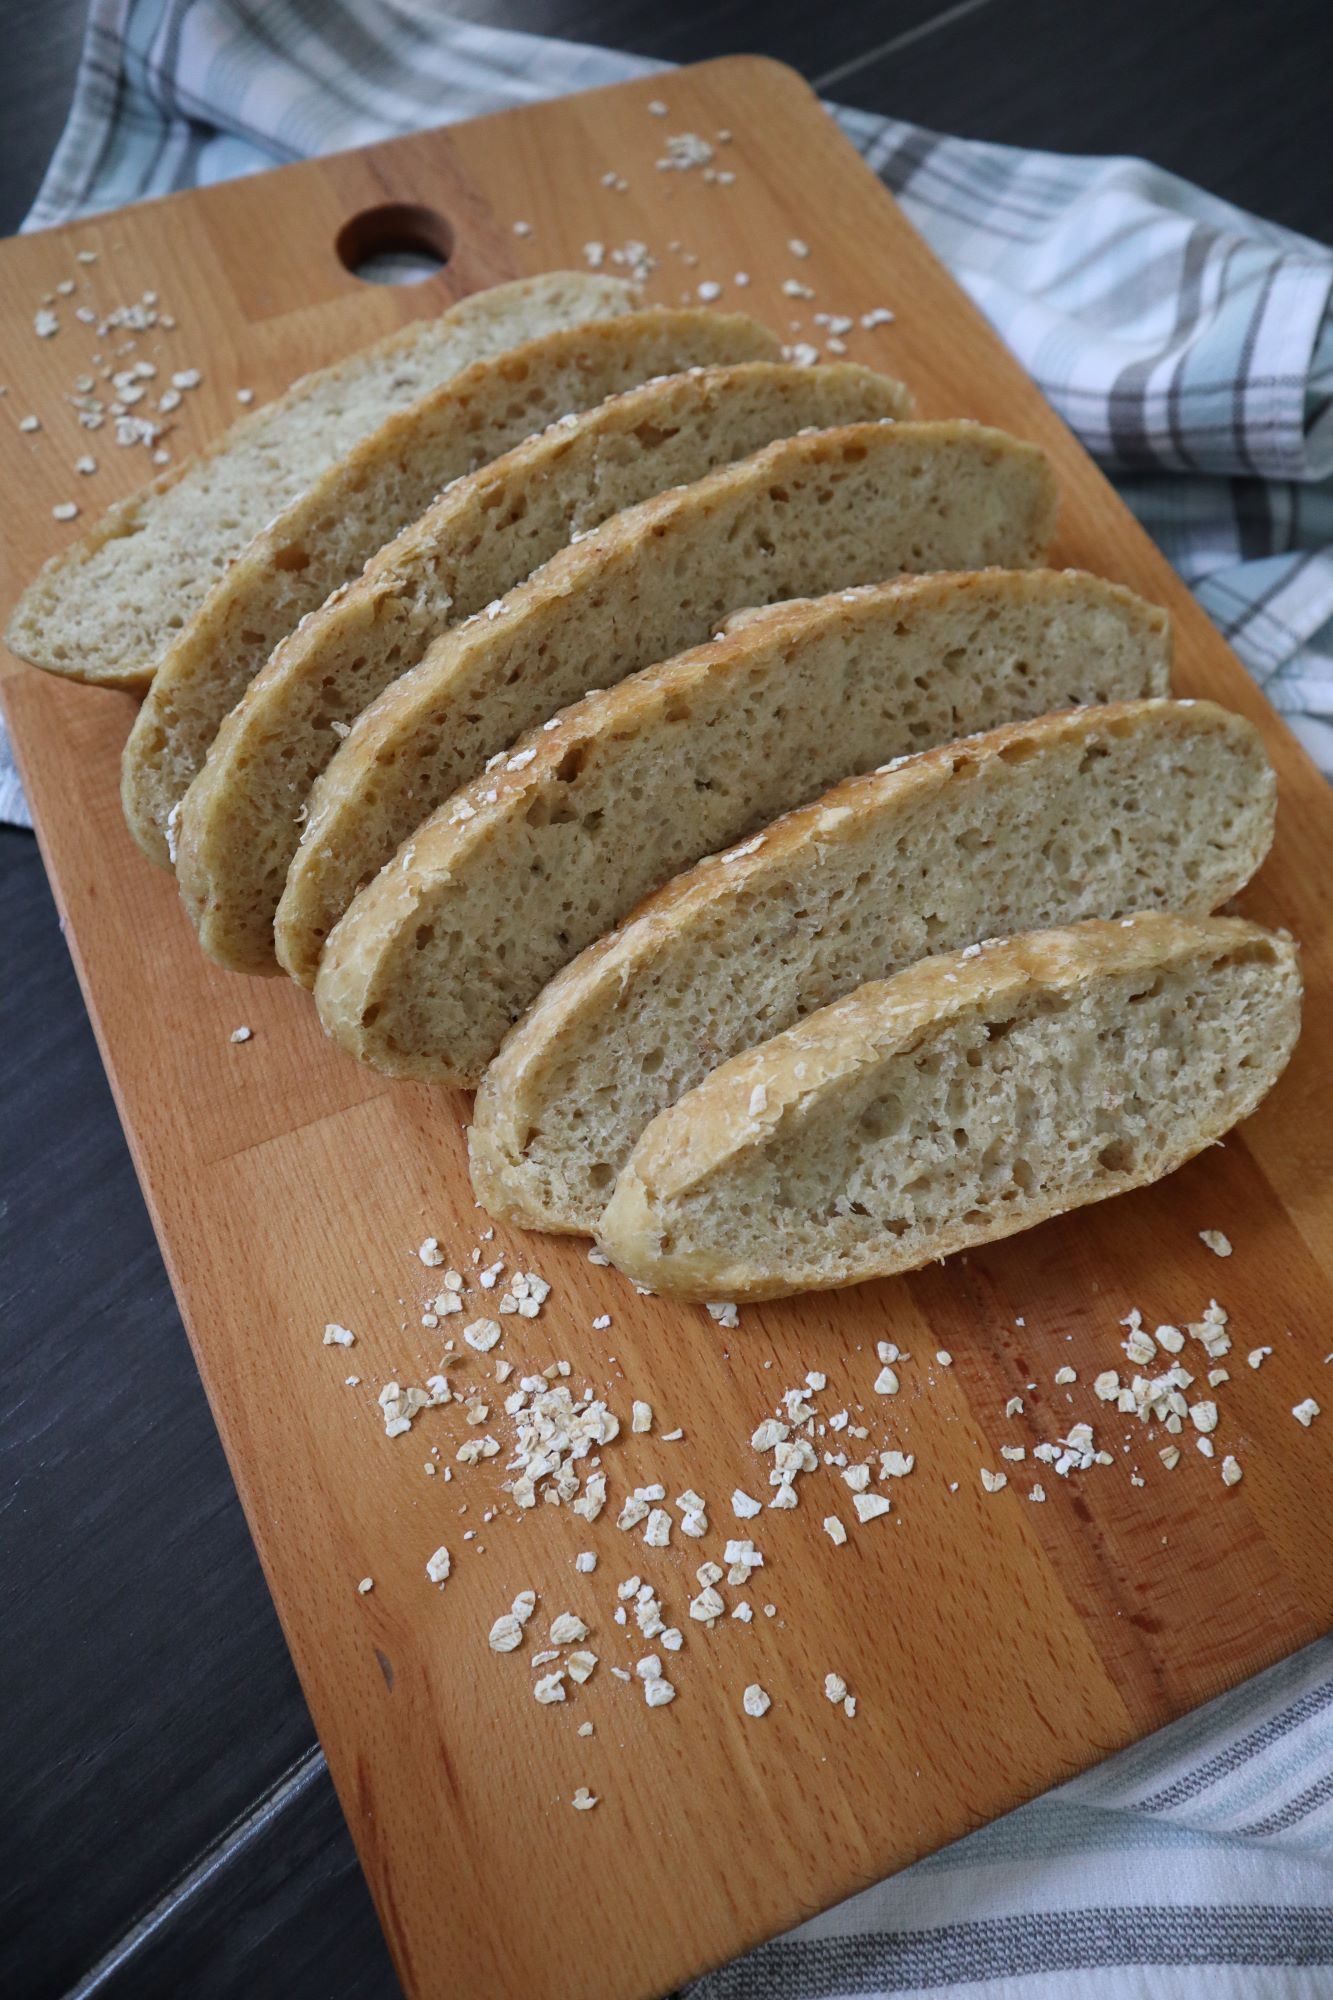
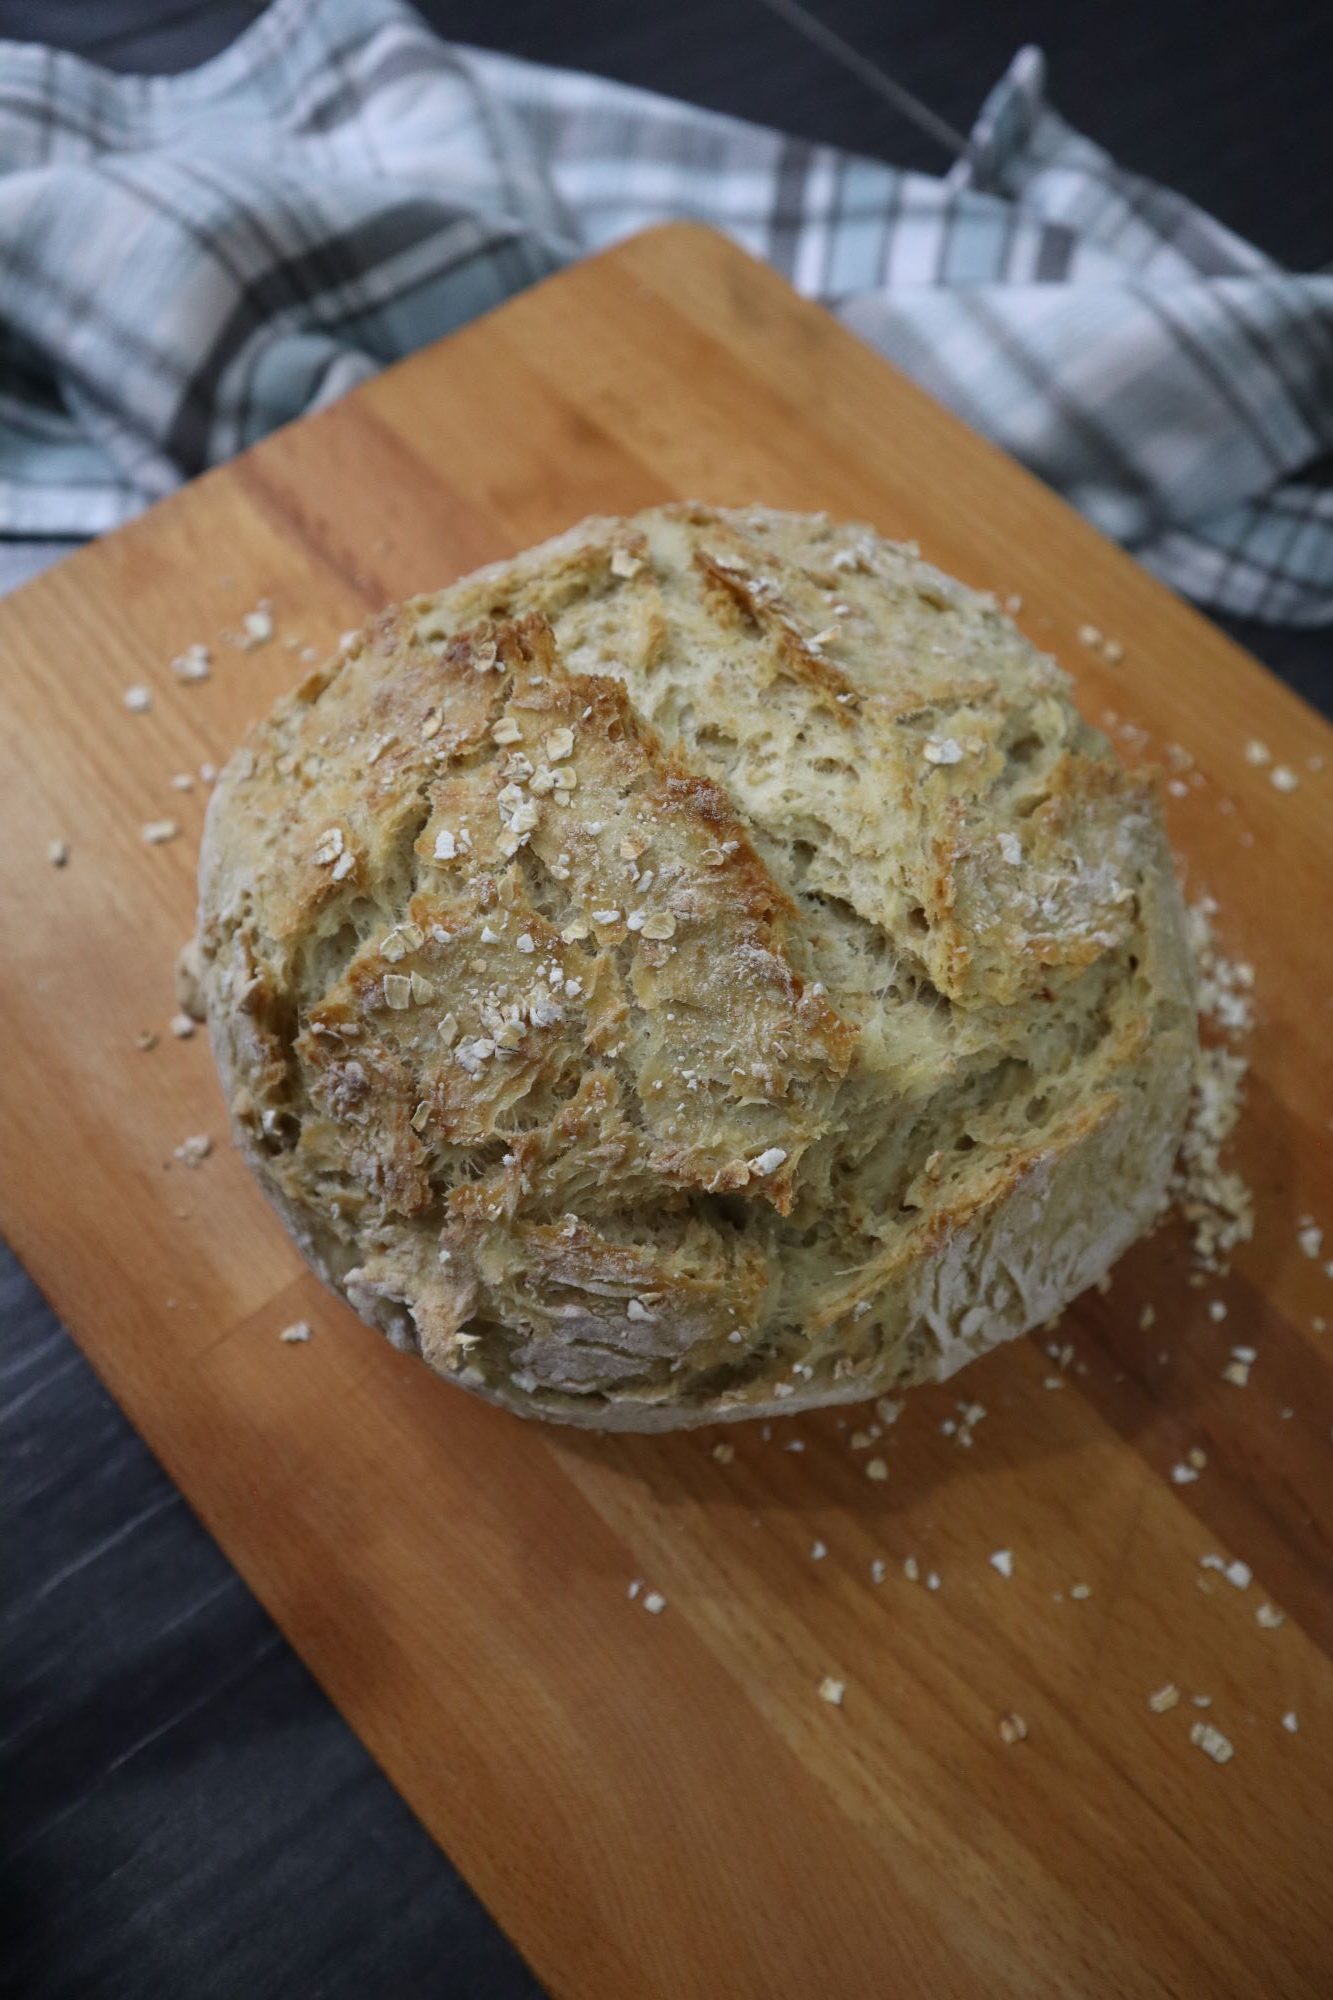
Then carefully remove the loaf from the pan and let it cool for about 30 minutes before slicing it.

let it cool down

I am using dutch oven. What if you don’t have a dutch oven.

This recipe can also be baked in a cast-iron skillet, a random oval, round, or rectangular oven-proof dish that’s somewhere around 9-inches long, or even on a cookie sheet.

Enjoy !

No Knead Oat Bread (Dutch Oven)

This easy no knead bread are loaded with oats, perfect for toast, sandwiches and snacking.
Prep Time 10 minutes
Cook Time 12 hours
Total Time 12 hours 10 minutes
Course Breakfast, Snack

Ingredients
  

  • 1 1/2 cup Warm tap water
  • 2 tbsp Sugar or maple syrup or honey
  • 1 tbsp Olive oil
  • 1 tbsp Instant dry yeast
  • 1 cup All-purpose flour
  • 1 1/2 cup Whole wheat flour
  • 1 cup Oats
  • 1/2 tbsp Salt

Instructions
 

  • Put all ingredients into a large bowl. Stir with a wooden spoon until combined. The dough will be sticky, but that’s fine. As long as all the flour has been absorbed, you’re good.
  • Cover the bowl with plastic wrap or a clean kitchen towel and let sit at room temperature for at least 2 hours. It will become bubbly and rise quite a bit, so be sure your bowl is large enough.
  • Once risen, stir the dough to roughly form a ball, cover, and refrigerate overnight (at least 8 hours).
  • When ready to bake, remove the dough from the fridge and use your hands to form it into a ball (I find this is easiest when I wet my hands first).
  • Cut a 10-inch or larger square of parchment paper and sprinkle a small handful of oats in the center, then place the ball of dough on top of the oats. Add another few pinches of oats on top, and cover with plastic wrap and let rise in a warm place for 1-2 hours (or until about 50% larger than it’s original size).
  • When dough is nearly done rising, turn your oven on to 400 degrees Fahrenheit. If you have a large dutch oven or cast iron skillet, put it into the oven to get hot while the oven preheats. If you don’t have either of those, you can use a large oval or round oven-safe dish, or even a cookie sheet, which doesn’t need to be preheated.
  • When dough is nearly done rising, turn your oven on to 400 degrees Fahrenheit. If you have a large dutch oven or cast iron skillet, put it into the oven to get hot while the oven preheats. If you don’t have either of those, you can use a large oval or round oven-safe dish, or even a cookie sheet, which doesn’t need to be preheated.
  • Remove bread from the oven and wait as long as you possibly can before cutting into it (ideally until its just barely warm, or even until it’s fully cold.
  • Store leftover bread in an airtight container at room temperature for 3-4 days, or slice and store in the freezer for several months.

Recipe adapted from Baked Greens.

I’m afraid of baking bread as I’ve never successfully made anything with yeast before, but after this homemade bread recipe, I am super thrilled and I definitely will make this freshly baked bread every week.

If you like this recipe, you might also want to try this delicious Cranberry Walnut Scones.

Cranberry Walnut Scones

Cranberry Walnut Scones

I’ve been making this Cranberry Walnut Scones recipe for my family in the past week.

Scones are perfect for dessert, breakfast, snacks, whenever.

Press the dough into a 3/4 inch thick circle.

Cut across the diameter into 8-12 wedges.

You can adapt the recipe to any season by adding a different mix of berries and nuts. This combination is perfect for everyone.

Enjoy!

Cranberry Walnut Scones

This combo is amazing, but you can stir in almost anything into this rich and delicate dough.
Prep Time 10 minutes
Cook Time 12 minutes
Total Time 22 minutes
Course Breakfast, Snack
Cuisine American

Ingredients
  

  • 2 cups all-purpose flour or cake flour
  • 1/2 tsp salt
  • 2 tsp baking powder
  • 3 tbsp sugar

Instructions
 

  • Heat the oven to 450°F. Mix the flour, salt, baking powder, and 2 tbsp of the sugar in a large bowl. Add the butter and press it into the flour mixture, breaking it into tiny pieces with your fingers until it looks like coarse meal.
  • Stir in the egg and 1/2 cup cream/milk. The mixture should form a slightly sticky dough. If it's too sticky, add a little flour, but very little; it should still stick a little to your hands. If it's too dry, add more cream/milk 1 tbsp at a time.
  • Sprinkle 2 tbsp flour on a work surface and turn out the dough. Sprinkle the cranberries and walnuts over it and knead only a few times to incorporate the fruit and nuts. If the dough is very sticky, add 1 to 2 tbsp flour, but no more.
  • Press the dough into a 3/4 inch thick circle and cut across the diameter into 8-12 wedges.
  • Brush the top of each scone with a bit of cream/ or milk, sprinkle with a little of the remaining 1 tbsp sugar (optional), and transfer them one by one to an uncreased baking sheet with a spatula, leaving at least 1 inch between them. Bake for 10-12 minutes (1-2 min more if needed), until the scones are golden brown.
  • Transfer to a rack to cool a bit. Serve right away if possible, or at least the same day.
Keyword healthy snacks
Notes
Instead of cranberries and walnuts, try up to 1/2 cup of any of these: [br]1. Raisins [br]2. Chocolate chips [br]3. Grated cheddar or Parmesan cheese (omit the sugar from the recipe)

If you like this recipe, you might also want to try this delicious Golden Cornmeal Bread.

Yee Sang Salad

Healthy Yee Sang Salad for Chinese New Year

‘Yee Sang or Yu Sheng’ is a salad made with fresh shredded vegetables, fruits, crackers and usually raw fish. Also known as “prosperity toss” salad. Yee Sang is a must have during Chinese New Year in Malaysia and Singapore. It is a fun, colourful and delicious salad.

When Chinese New Year is around the corner, you see restaurants start putting up yee sang set ups . Supermarket or grocers would also sell them in pre-packed boxes for easy take away. I’ve had the restaurant versions and boxed versions but I never had homemade version.

Yee Sang is usually served as the first dish, during the 15 days of Chinese New Year (some even before) as a form of good luck for the new lunar year. Whether its a homemade or restaurant version, the abundance of colours are the other main attractions of the dish. So I kinda made my own version with a few different colours of vegetables this year.

It’s not hard to make it at home, but it’s quite alot of work!

Enjoy! Huat ar!


Healthy Yee Sang Salad For Chinese New Year

Prep Time 45 minutes
Cook Time 5 minutes
Total Time 50 minutes
Course Appetizer
Servings 10

Ingredients
  

MAIN INGREDIENTS

  • Carrots, shredded
  • Daikon, shredded
  • Cucumber, shredded
  • Beets, shredded
  • Corn, cooked
  • Red cabbage, shredded
  • Cherry tomatoes, whole
  • Pomegranate seeds
  • Mango, sliced
  • Mandarin orange, segmented

SAUCE

  • 4 tbsp Plum sauce
  • 2 tbsp Honey
  • Juice of 2 limes

OTHER CONDIMENTS

  • Crushed peanuts
  • Roasted sesame seeds
  • Crackers

Instructions
 

  • Arrange all the ingredients on a big plate.
  • Make the sauce by mixing plum sauce, honey and lime juice.
  • Sprinkle sesame seeds and crushed peanuts.
  • Pour sauce over yee sang in a circular motion.
  • Toss the salad as high as you can and say auspicious wishes for the coming year during the “lou hei” tossing ceremony.
  • Eat

Notes

Other Ingredients:-
Seafood: fresh salmon, smoked salmon, jelly fish, abalone
Nuts: sunflower seeds, Pumpkin seeds
Fruits: pomelo, papaya
The idea is to keep the yee sang colourful and to ensure that you’ll be able to hold the ingredients with chopsticks and toss them high up.
 
Golden Cornmeal Bread

Golden Cornmeal Bread

My family has been enjoying this corn bread recipe for a while. One of the reasons I love this corn bread recipe is that you don’t need anything fancy to make it.  This recipe is one you can make any day, any time, with what you have on hand. You can use any kind of pan and don’t need any special ingredients. With just a few things you probably already have on hand you can make the best corn bread ever!

What is Cornmeal?

What is cornmeal? What about polenta? It can be confusing. Cornmeal can be found in the baking aisle of grocery store. Cornmeal is just dried and then ground field corn and you can typically find it in a fine or medium grind. Both will work well for this recipes. Polenta and grits will also work in this recipe. Corn flour is more finely ground and can also be used.

Topping Ideas for Cornmeal Bread

This recipe is great with:

  • A drizzle of honey
  • Butter
  • Jelly or jam
  • Or just as it is

Enjoy!

Golden Cornmeal Bread

This easy homemade corn bread recipe comes out fluffy and perfect every time! It is the absolute best cornbread and a family favorite for years and years.
Prep Time 10 minutes
Cook Time 30 minutes
Total Time 40 minutes
Course Breakfast, Snack

Ingredients
  

  • 1 1/4 cups milk or more as needed
  • 1 tbsp white vinegar
  • 4 tbsp butter melted, plus more for greasing the pan
  • 1 1/2 cups cornmeal
  • 1/2 cup all-purpose flour
  • 1 tbsp baking soda
  • 1 tbsp sugar
  • 2 eggs

Instructions
 

  • Heat the oven to 375F. Heat the milk in the microwave until it reaches about 100F. It will be a little hotter than lukewarm water. Stir in the vinegar and let rest while you prepare the other ingredients. Grease a square baking pan with some butter.
  • Combine the cornmeal, flour, baking soda, salt and sugar in a large bowl. Whisk the eggs into the soured milk. Stir the milk mixture into the dry ingredients just enough to combine everything. If the batter is very dry and doesn’t come together easily, add another 1 or 2 tablespoons milk.
  • Add the 4 tablespoons butter and stir until just incorporated; avoid overmixing. Pour the batter into the prepared pan, spread into an even layer, and put in the oven.
  • Bake for 25 to 30 minutes, until the top is lightly browned, the sides have pulled away from the pan, and a toothpick inserted into the center comes out clean. Cut into squares and serve hot or warm.